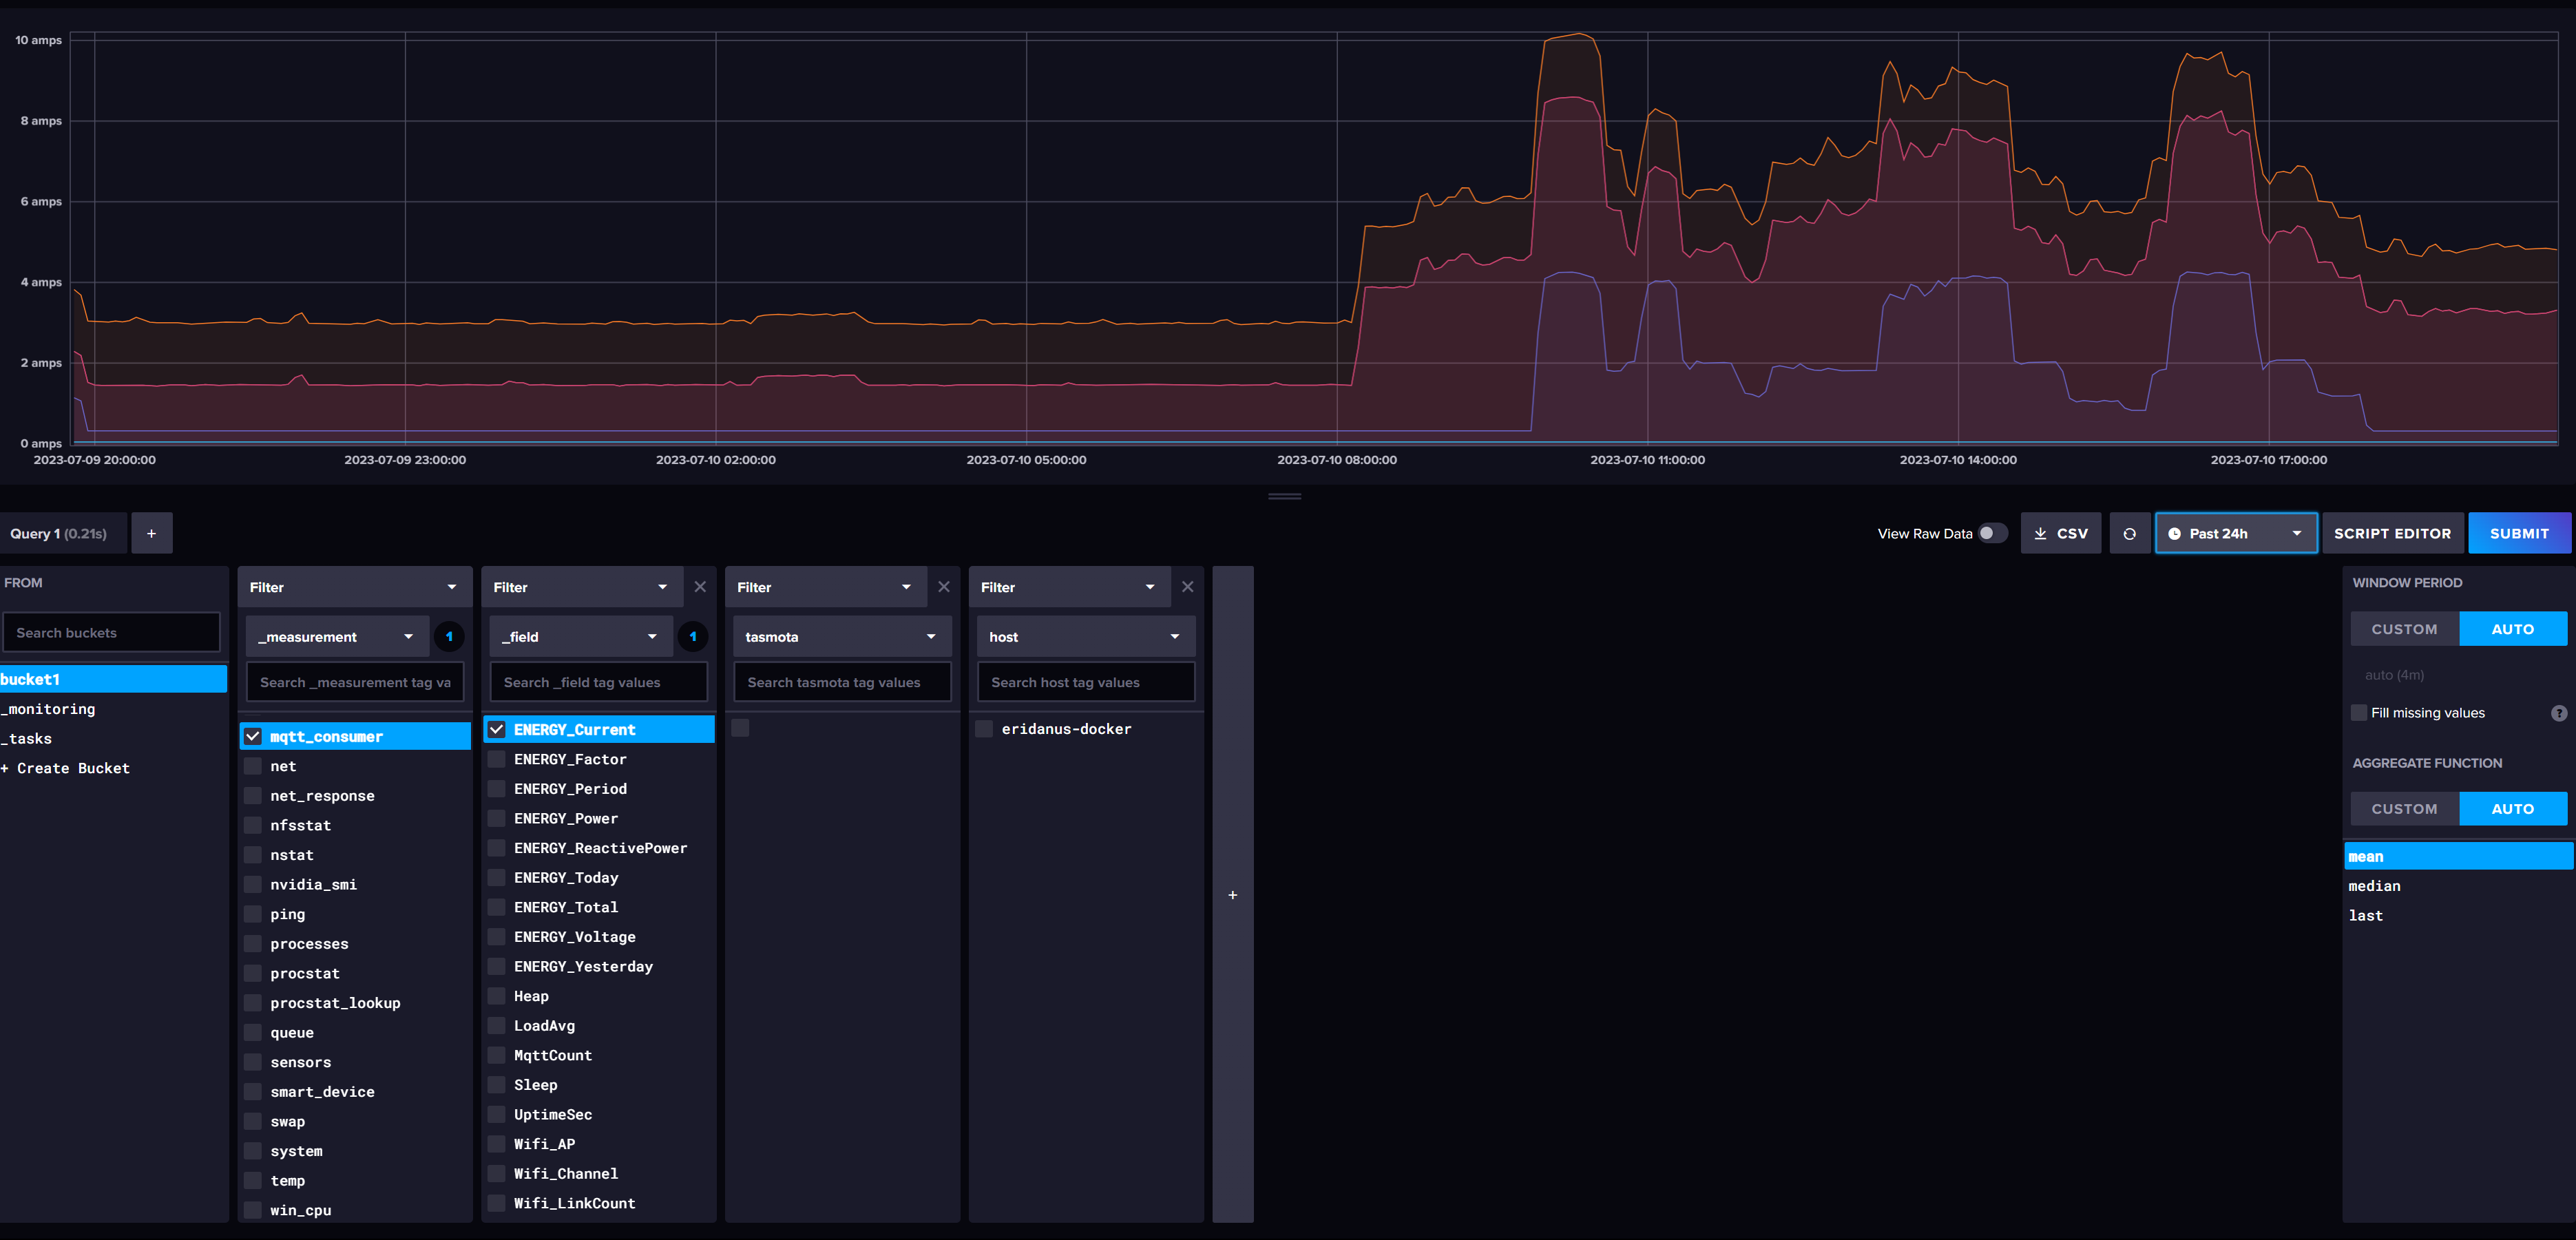
At some point I became interested in very accurately measuring the amount of power I’m consuming for all of my computer hardware. I’m regurgitating this from memory because I barely documented anything, but what follows is what I remember of this project.
Hardware
After buying a couple cheap smart outlets I ended up deciding to use the Sonoff S31 which goes for ~$10 on Amazon. The reasons for this were:
-
It’s based on the ESP32 microprocessor which I’ve used many times and am quite comfortable with
-
There seemed to be others who had flashed Tasmota to it and had a lot of luck
-
Tasmota has native support to push metrics to an MQTT broker and I happen to already run one of those on my local network. Ultimately I used Telegraf to forward that data to InfluxDB where I made pretty graphs, more on that in the software section
Teardown
Taking apart these devices is pretty simple although at the time I had trouble finding anyone who had thoroughly documented that process. What follows is a step-by-step guide showing how I did it.
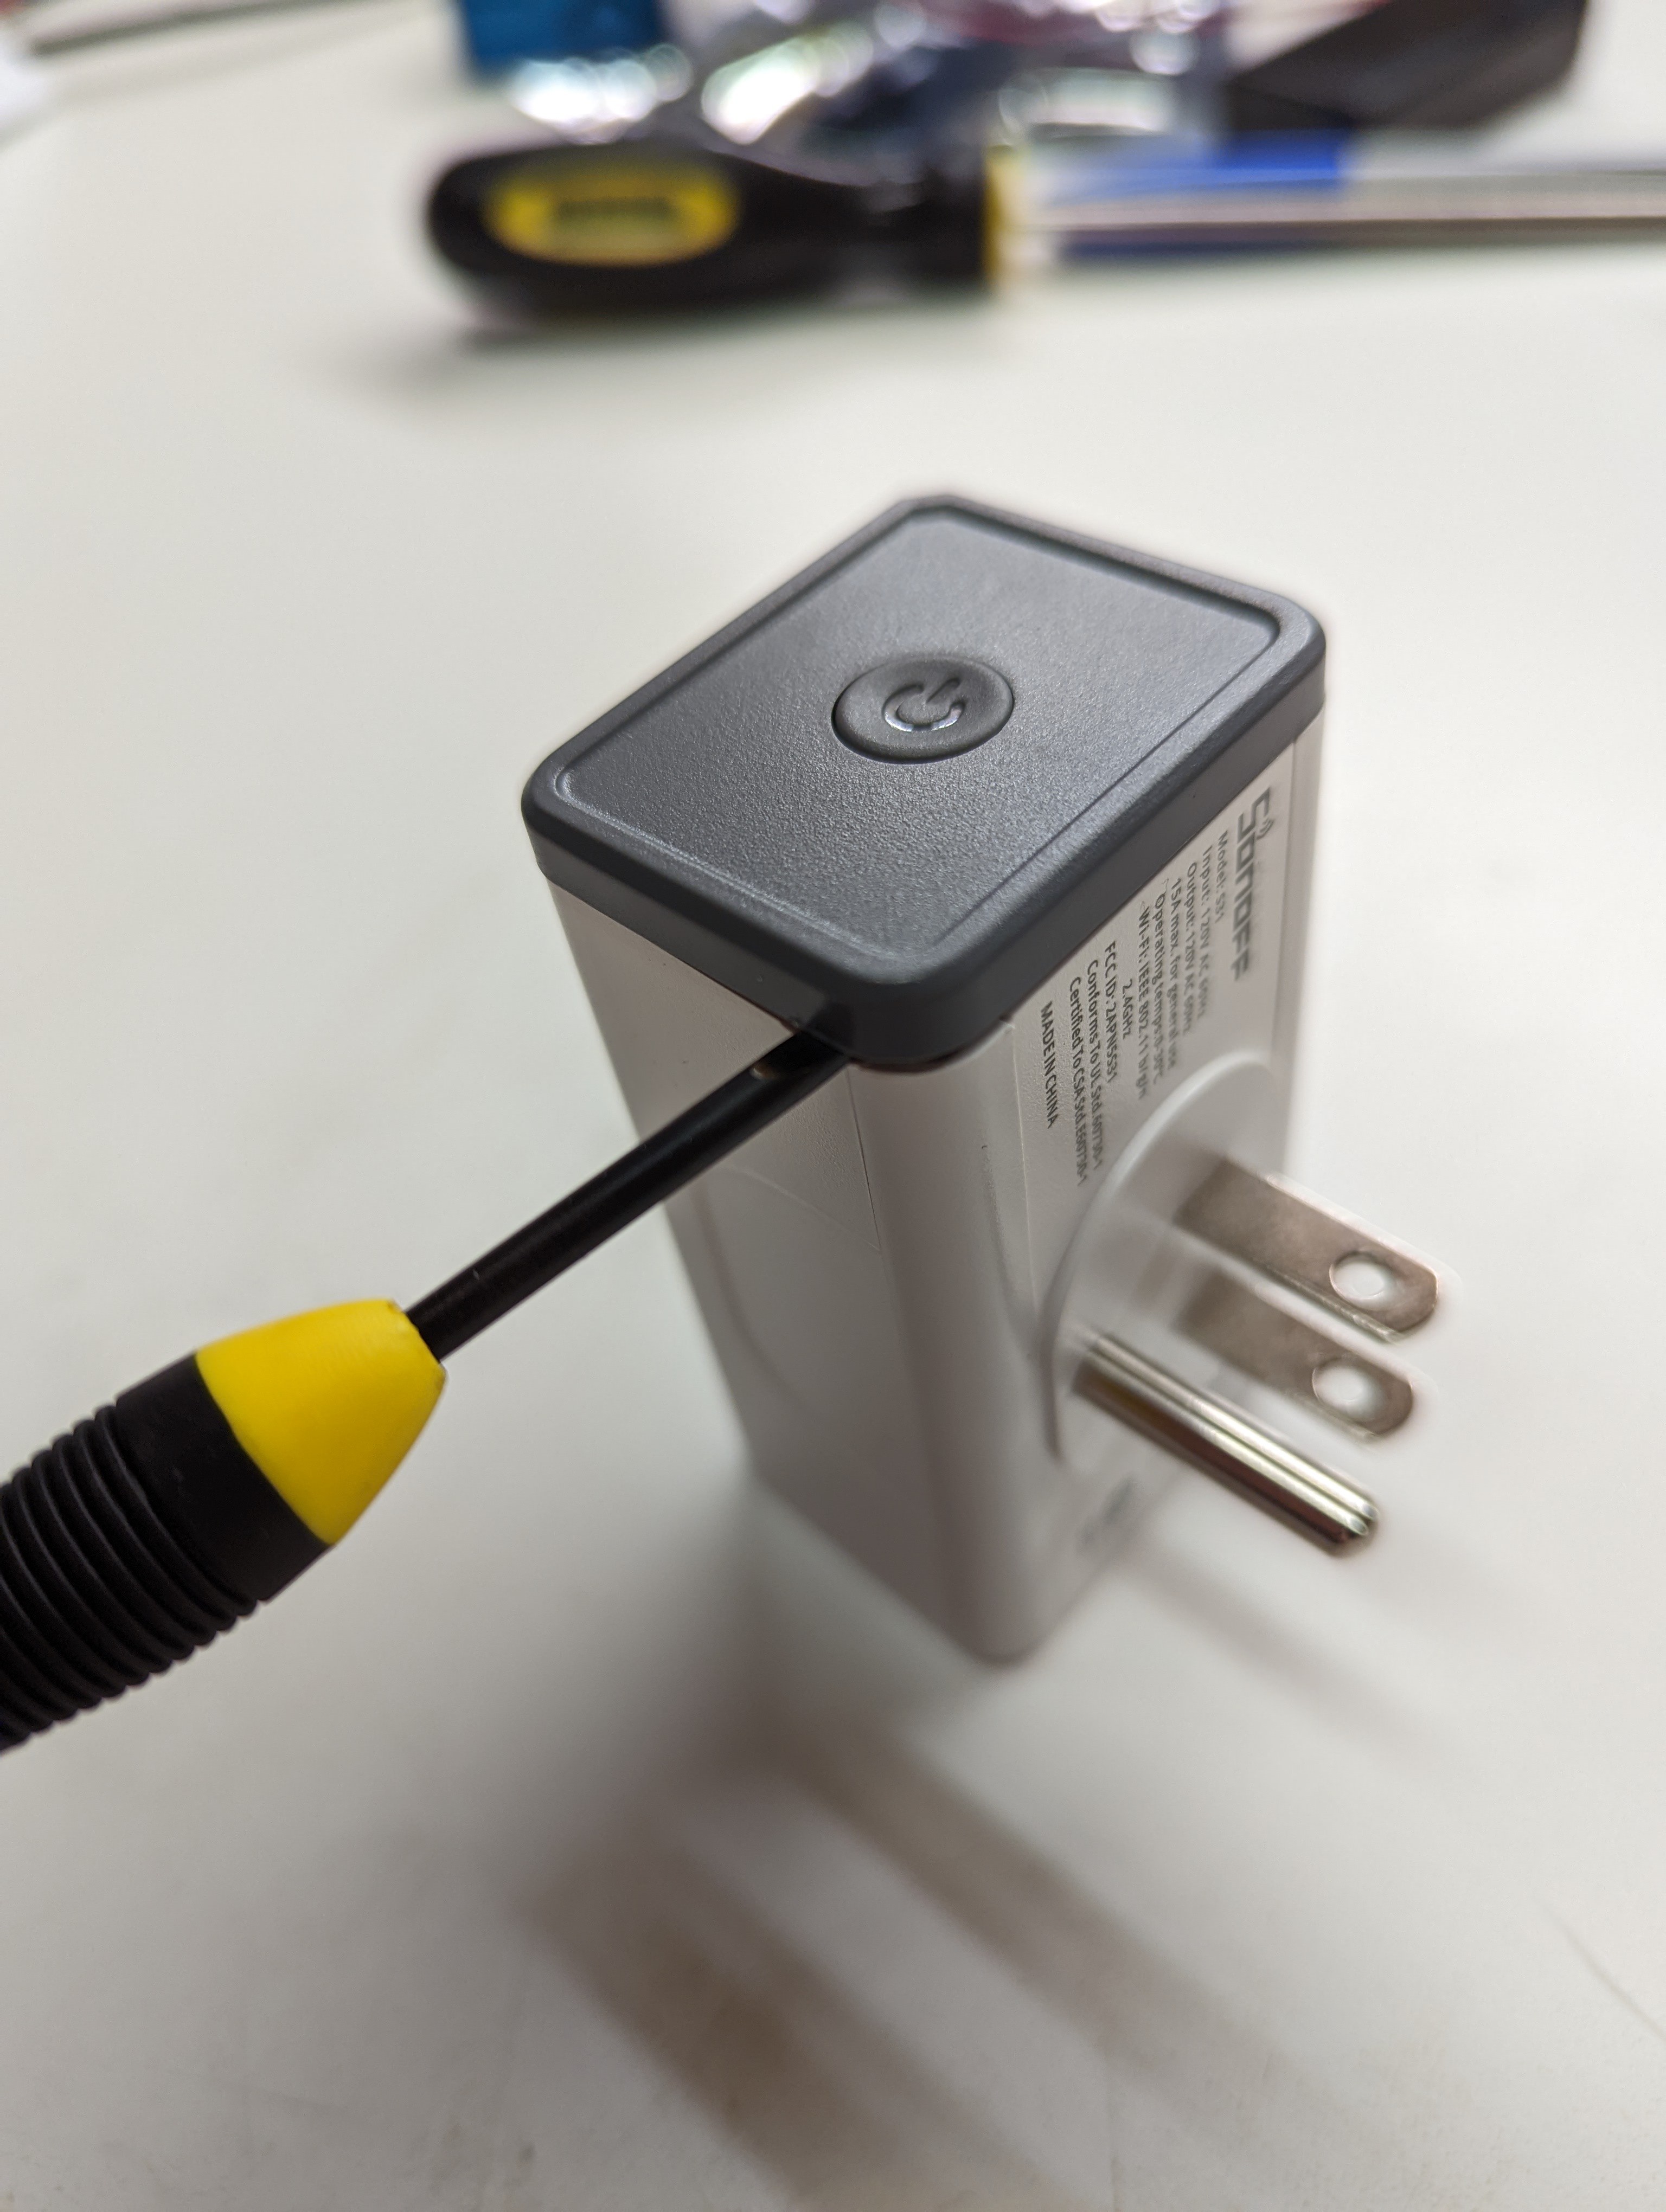
1.) Carefully pry off the grey endcap with a flathead screwdriver. The plastic is pretty soft so be gentle.
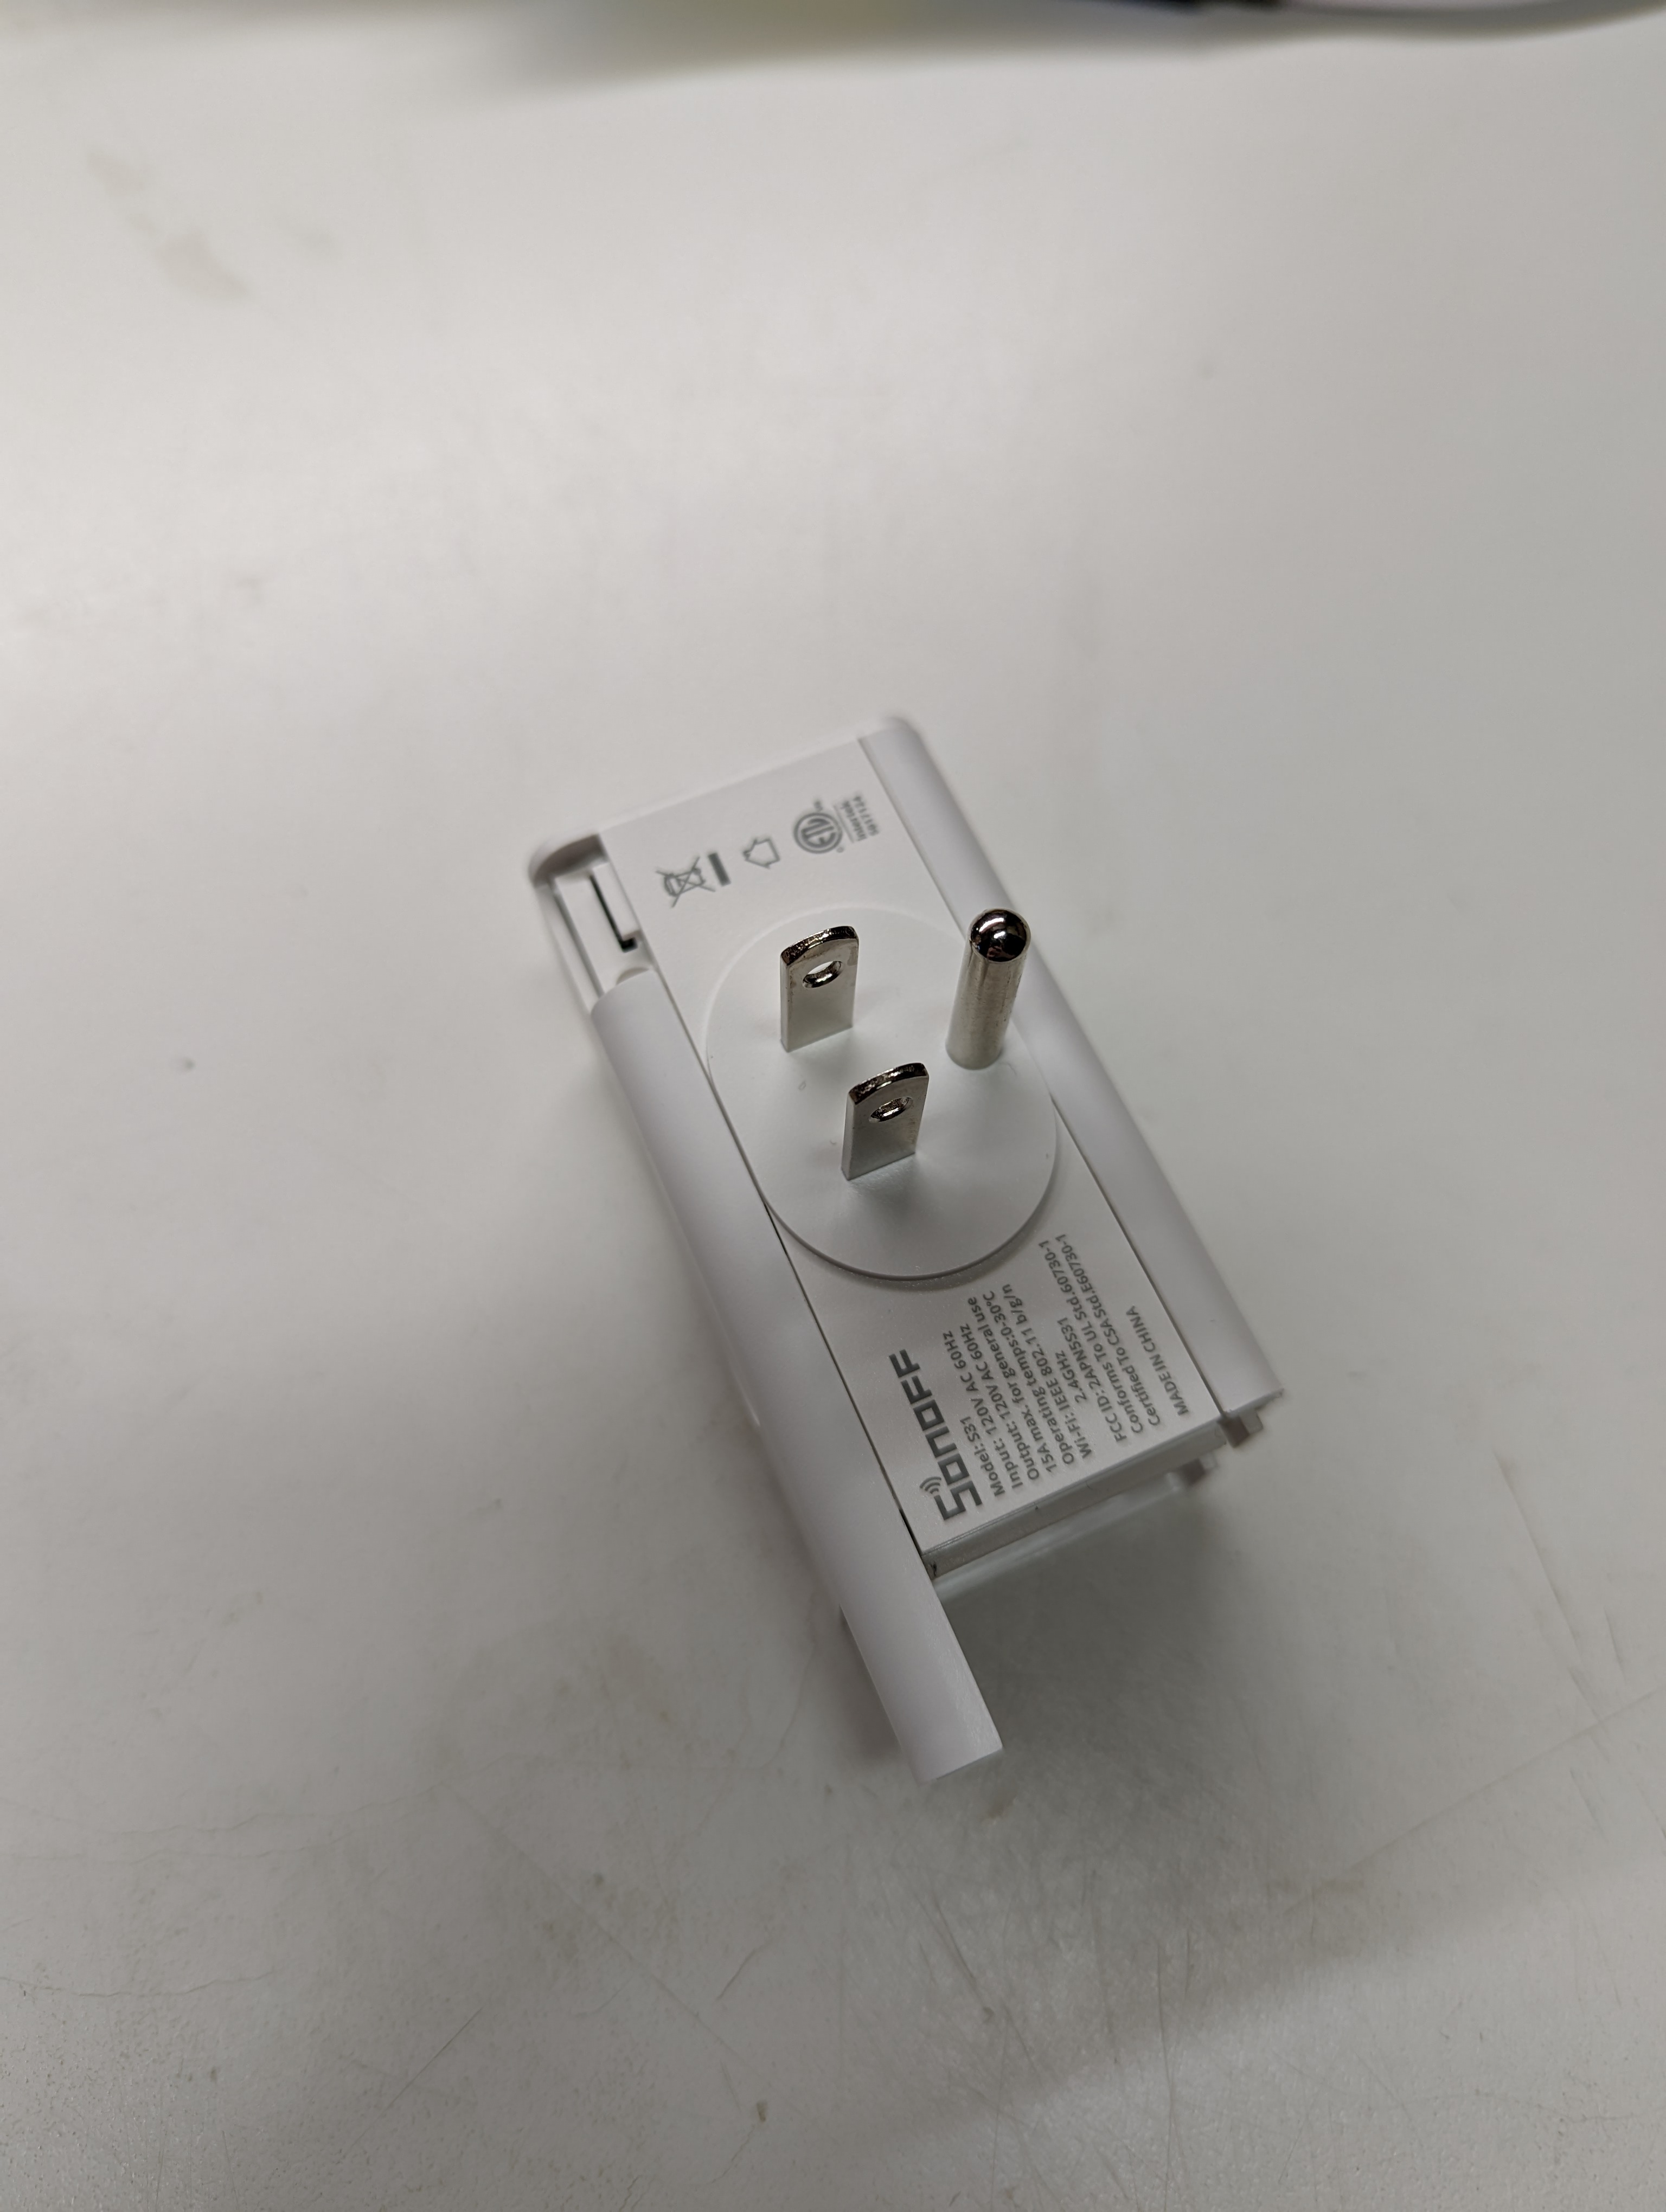
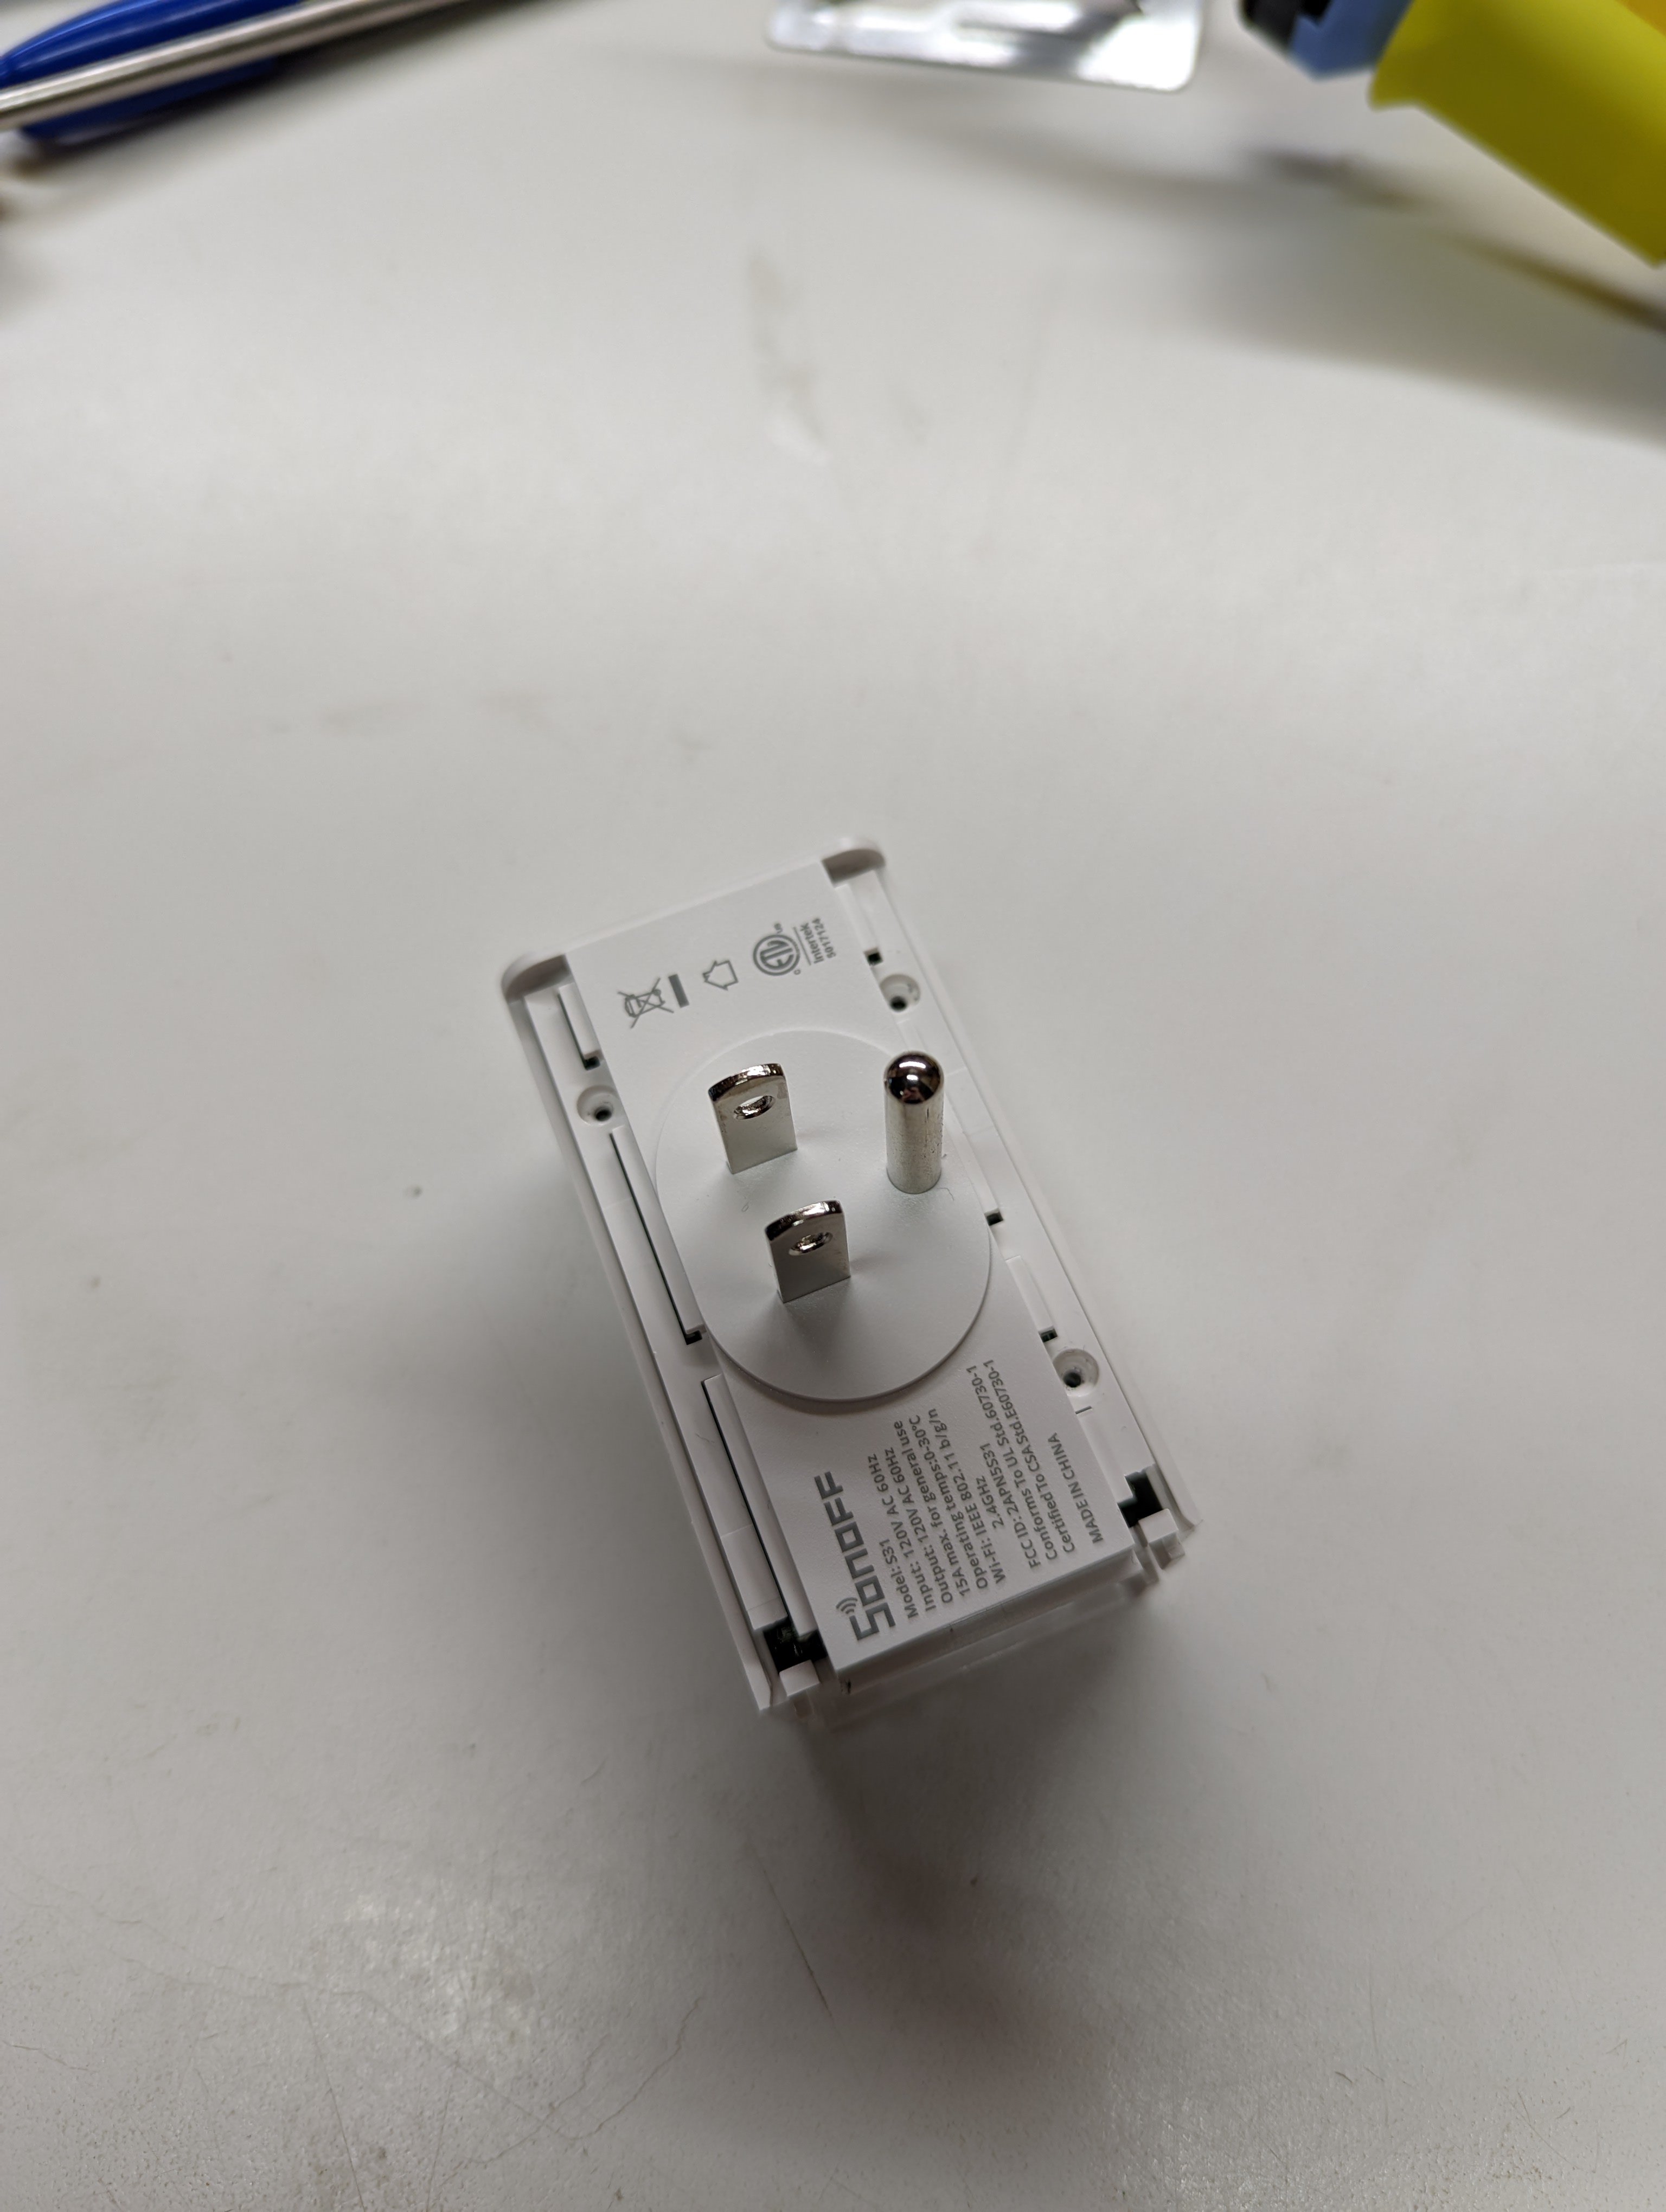
2.) Slide off these two little bars, then plug part should just fall out from what’s left of the plastic casing.
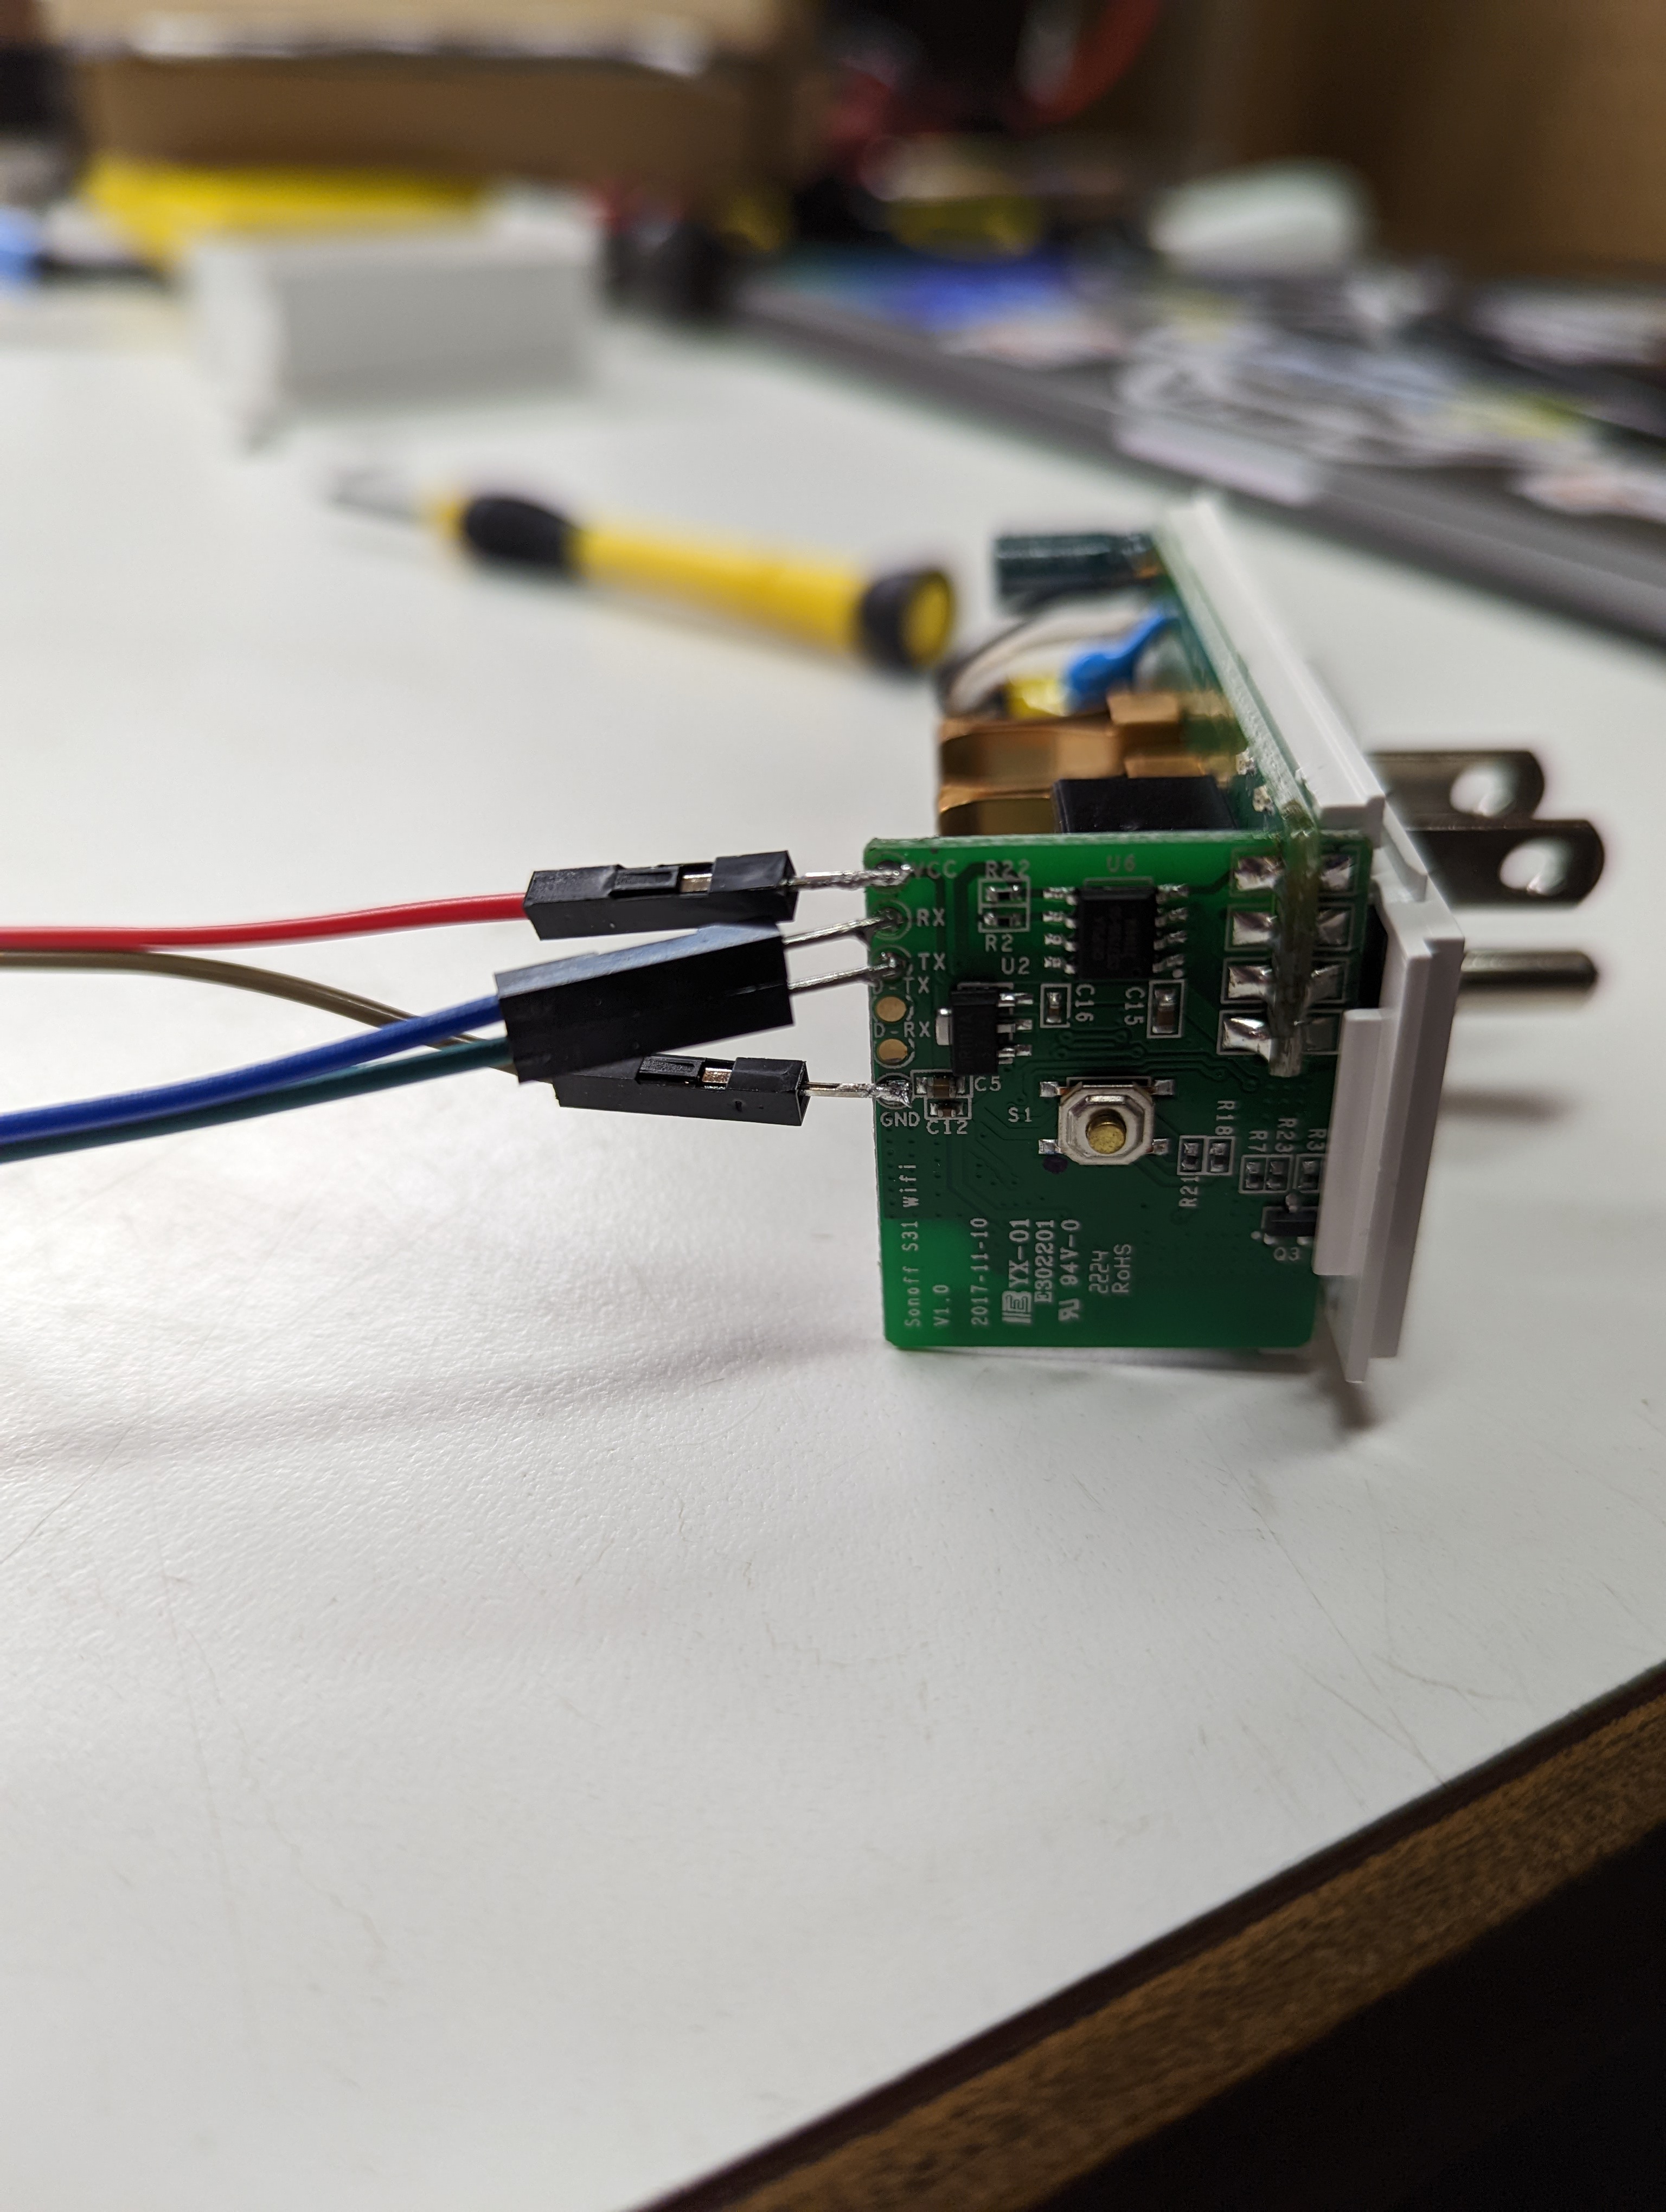
3.) Solder on four leads to the UART contacts. I found it was easier to glob a little solder on each pad before trying to attach the cables.
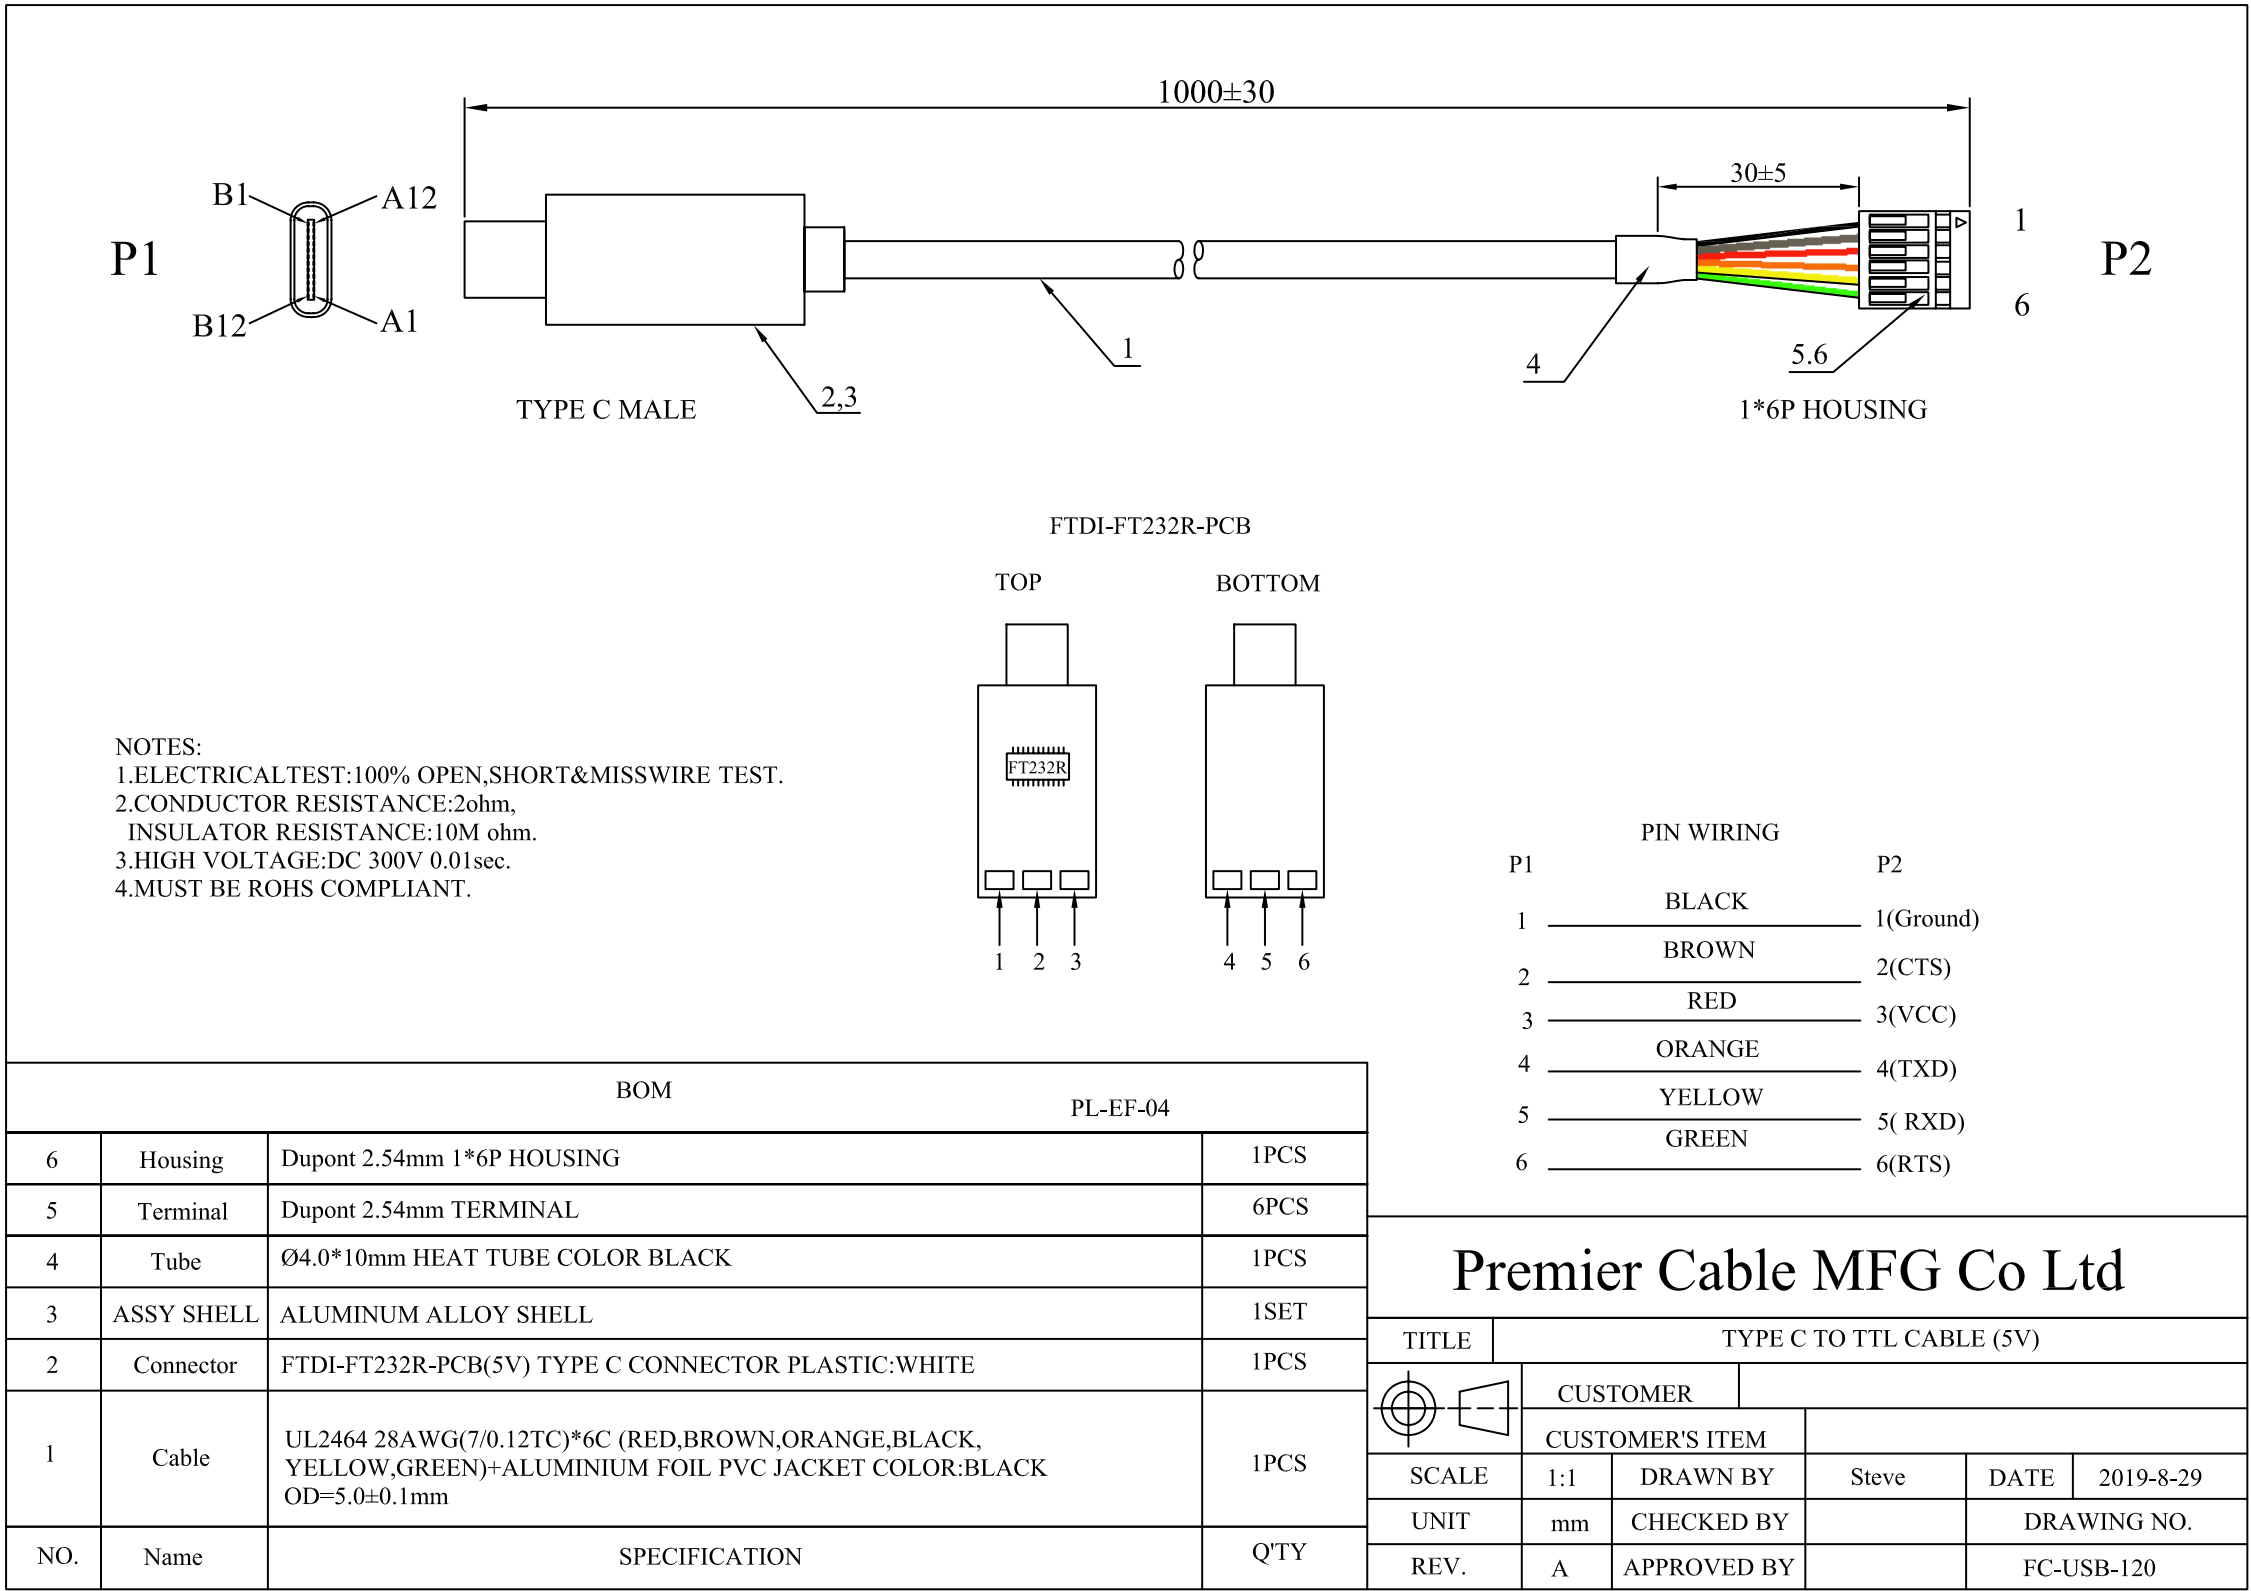
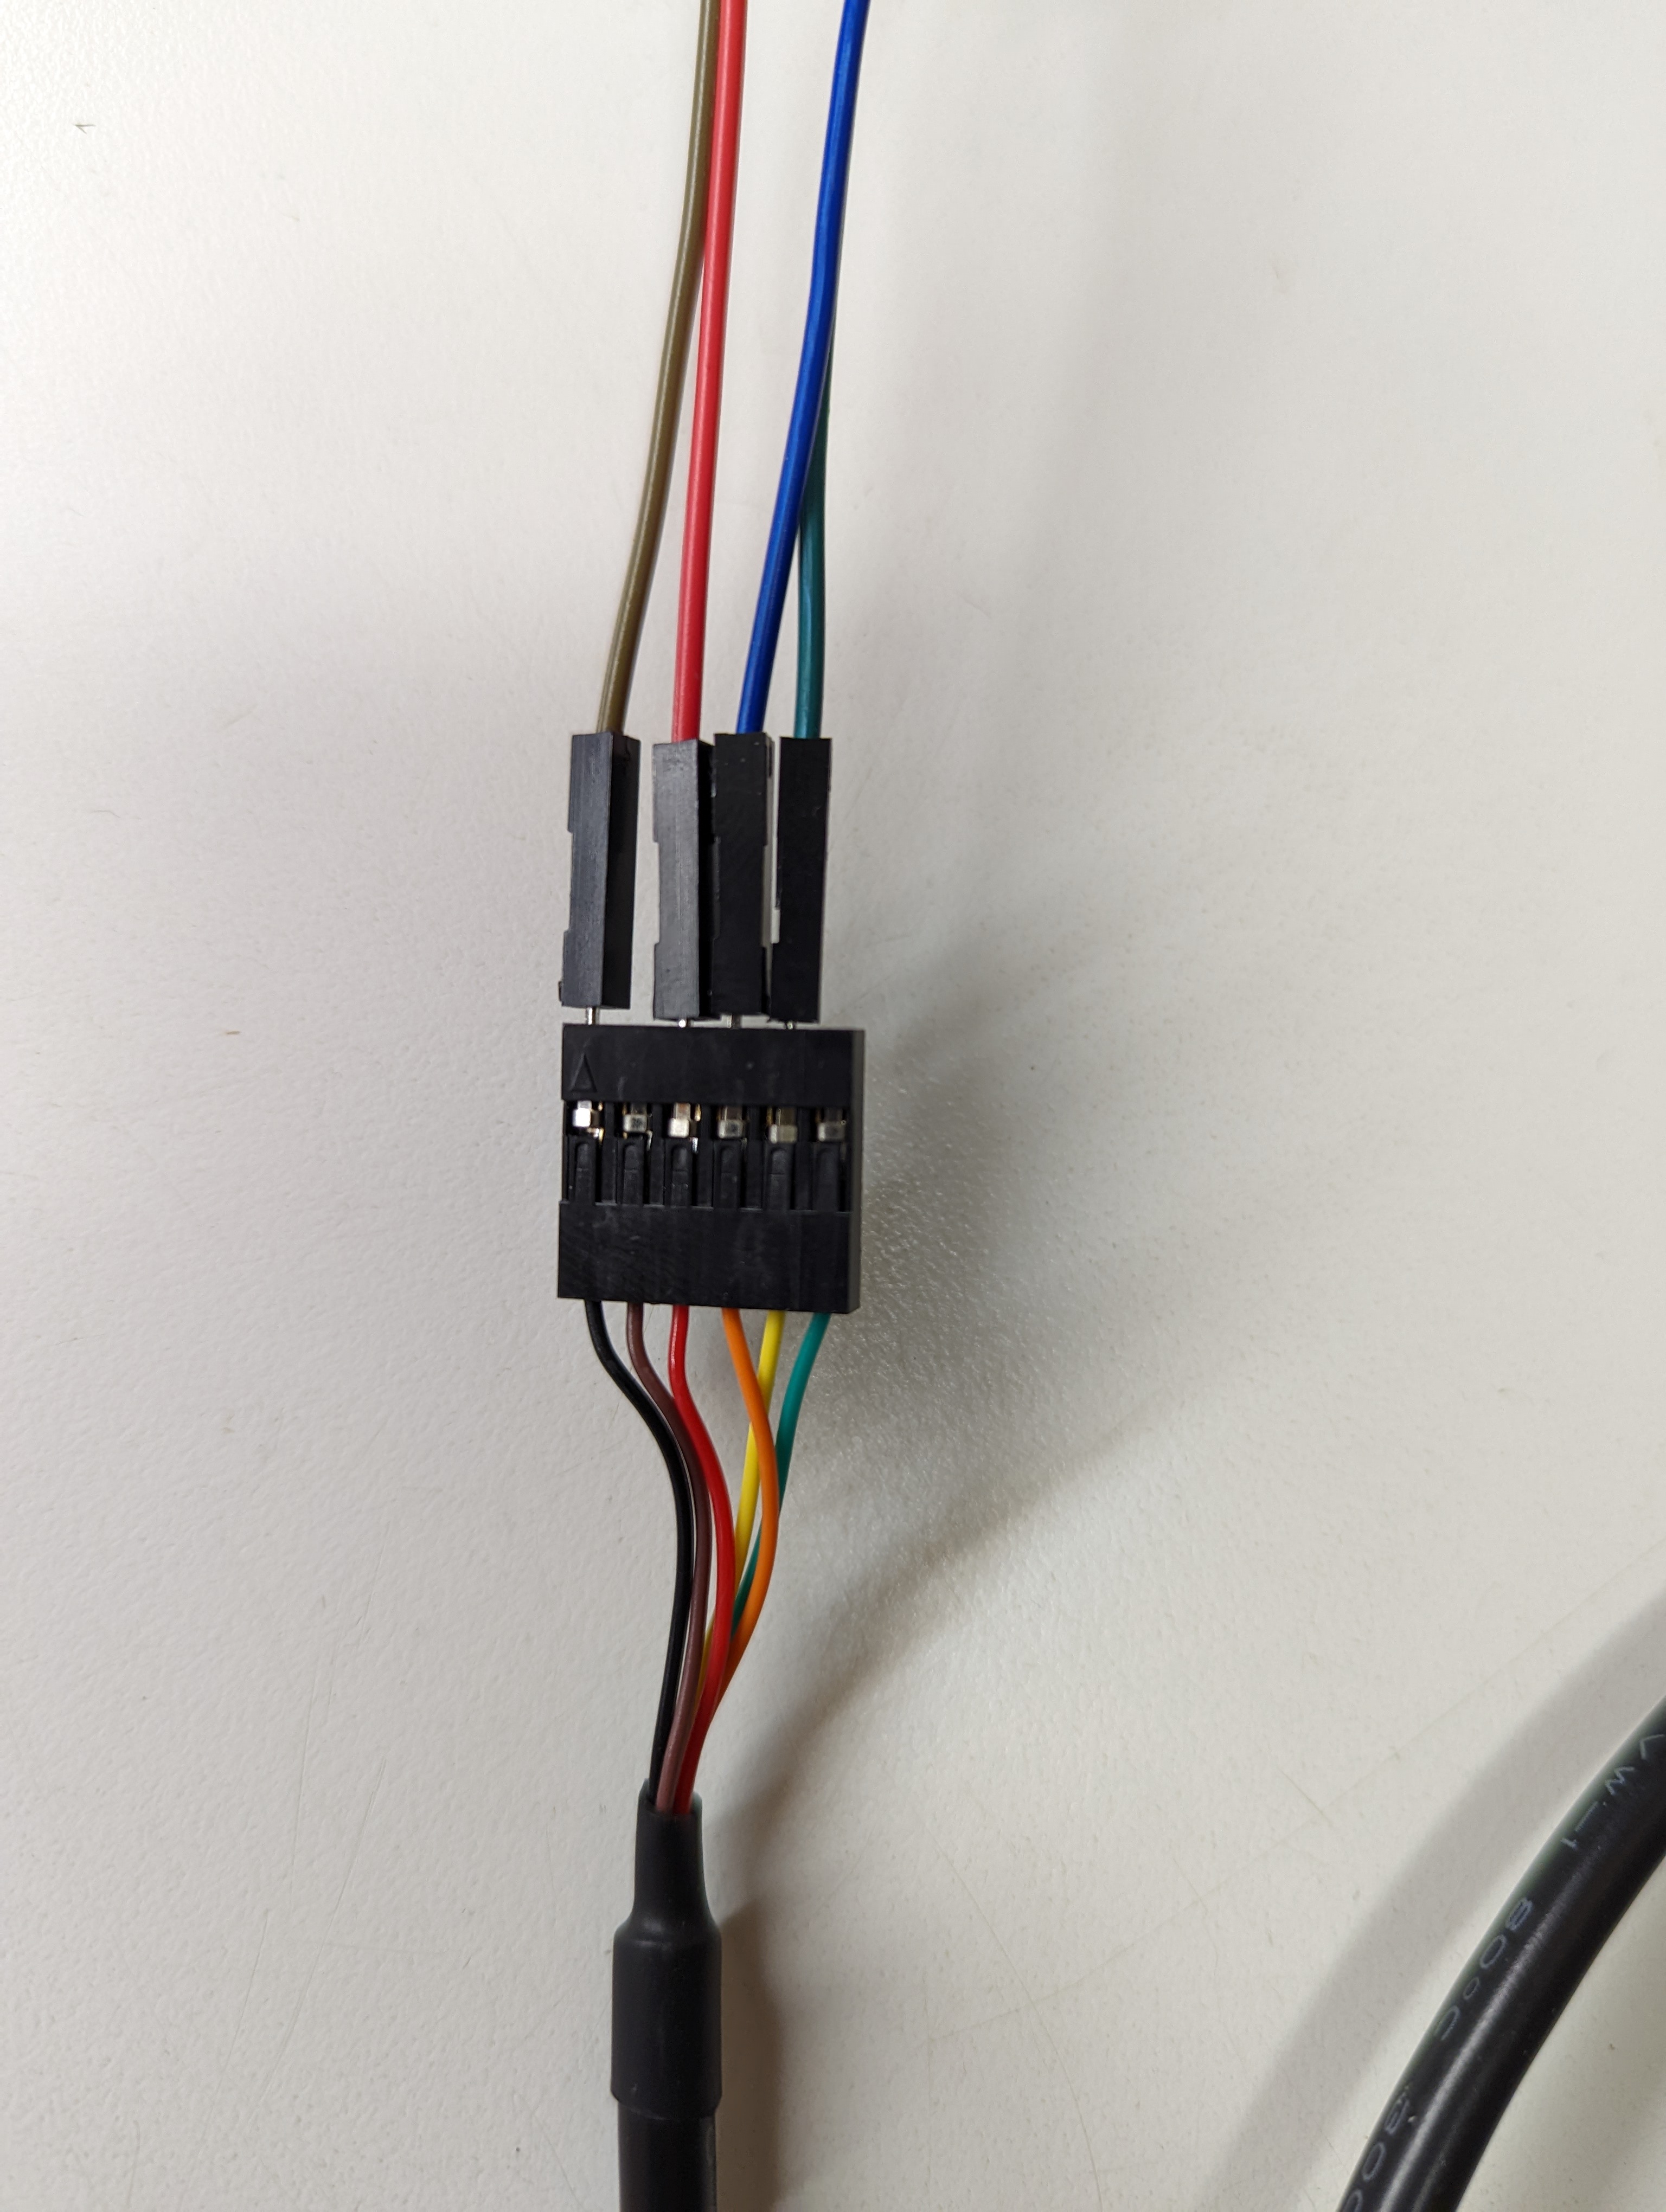
4.) I used a USB-C to serial cable and the datasheet pictured above helped me figure out the wiring. RX on the device (blue wire) connected to TX on the serial cable (orange), TX on the device (green wire) connected to RX on the serial cable (yellow). Naturally, ground (brown wire) goes to ground (black) and VCC (red wire) goes to VCC (also red).
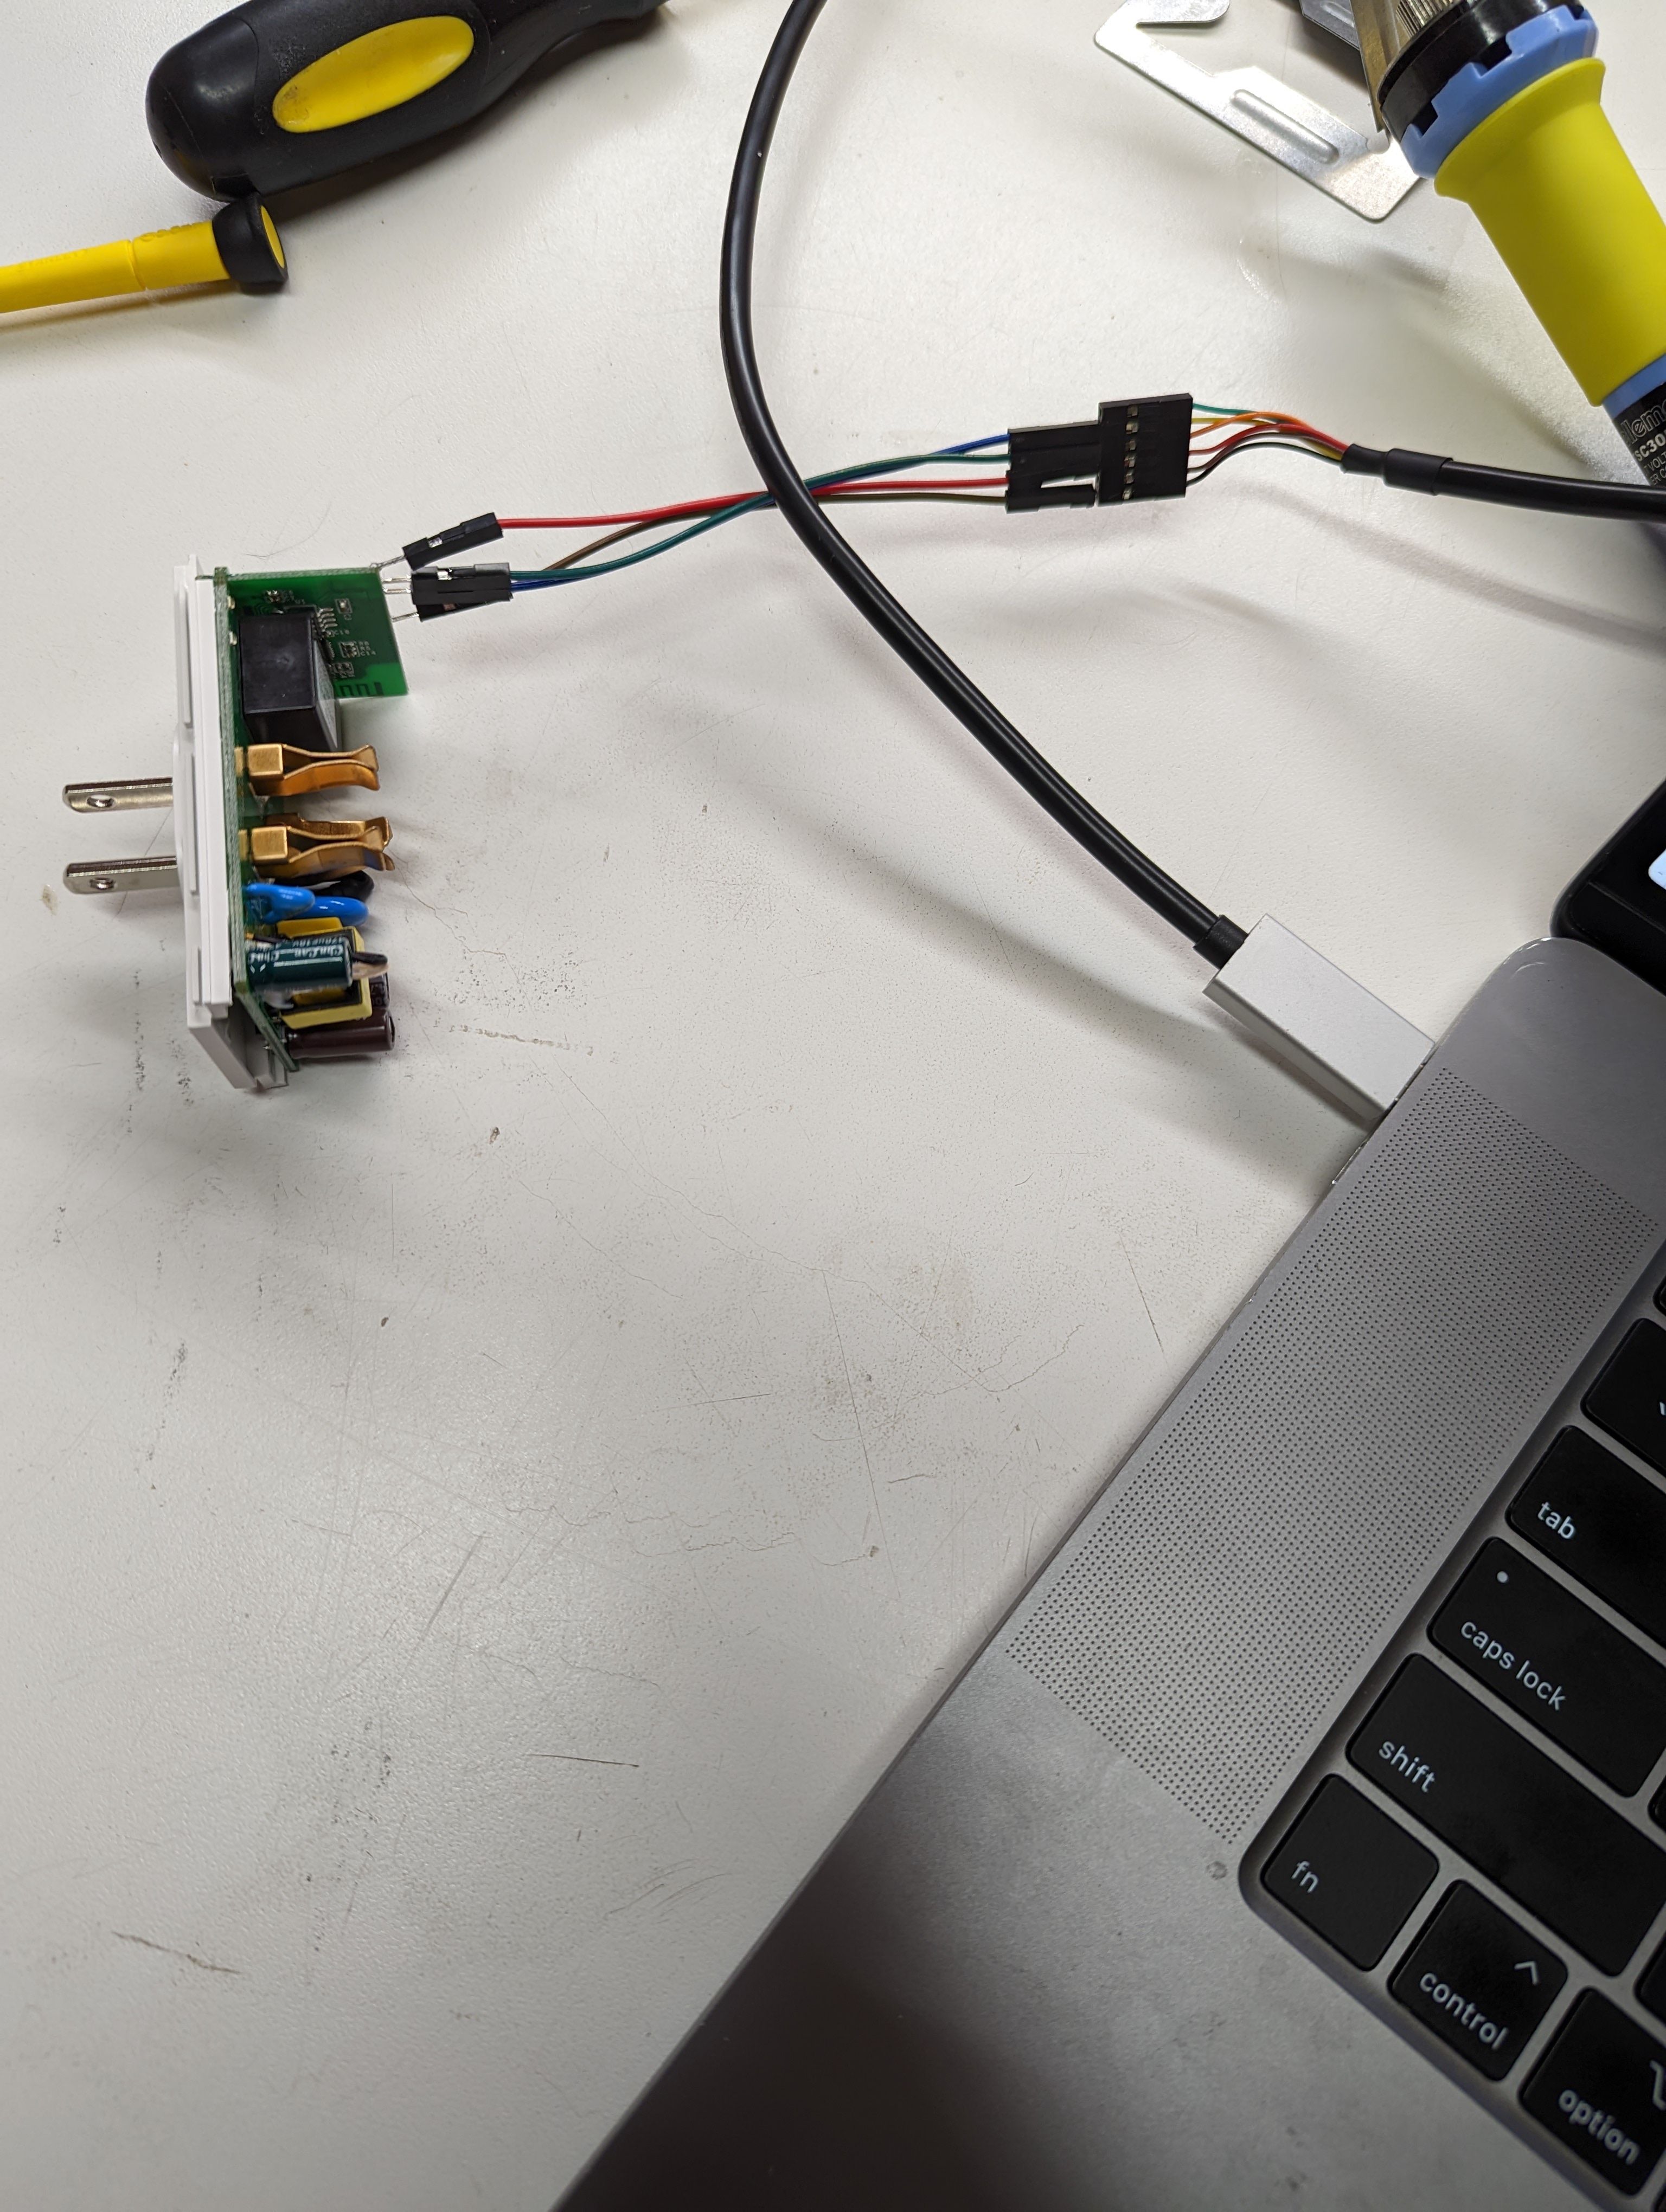
5.) Plug the cable into your computer.
Software
1.) Install Tasmota from their website. Makes it super simple and easy. Put in your SSID and password and then restart the device. Reassemble it, then plug it into an outlet.
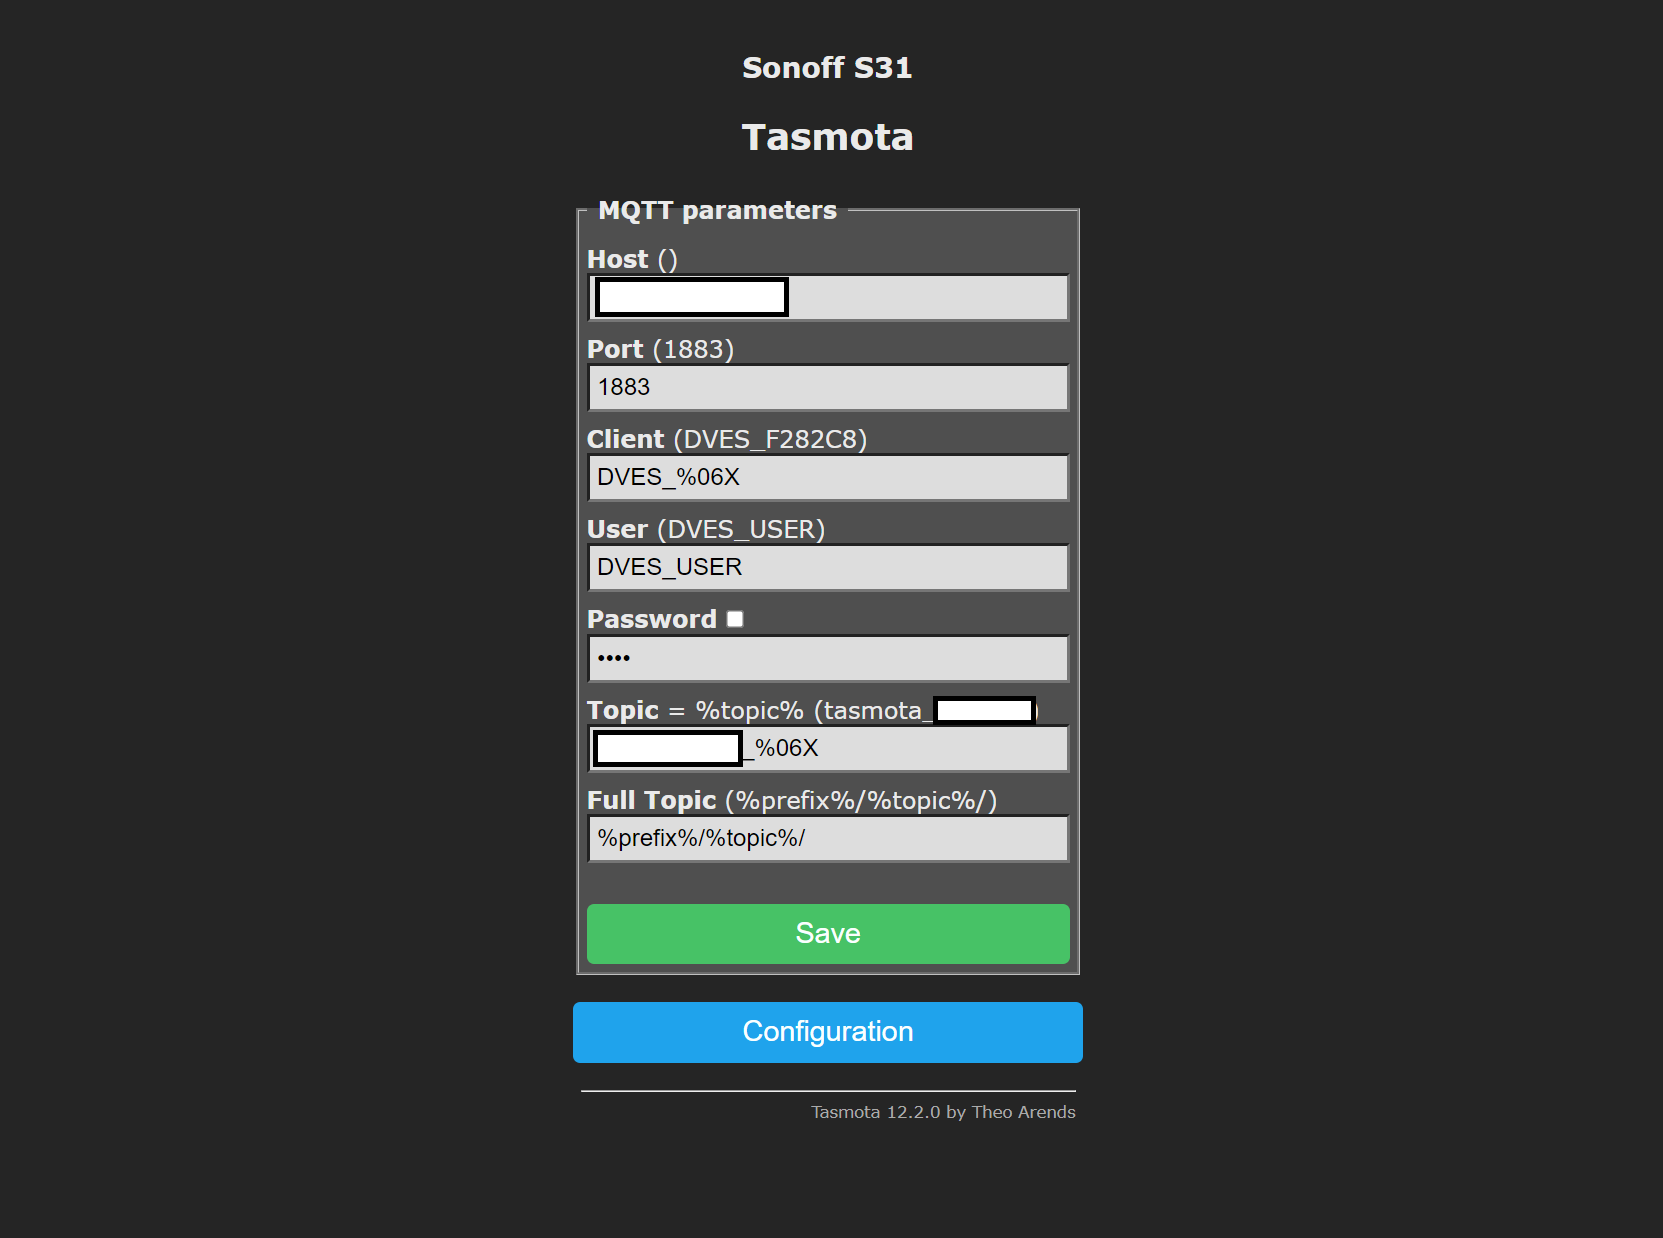
2.) Once it powers up, locate it on your network. You should have a configuration page like the one above. Configure MQTT to point at your MQTT broker. Like I mentioned before, I also configured Telegraf to dump everything on my MQTT broker to InfluxDB but that’s beyond the scope of this post.

3.) Pretty graphs!