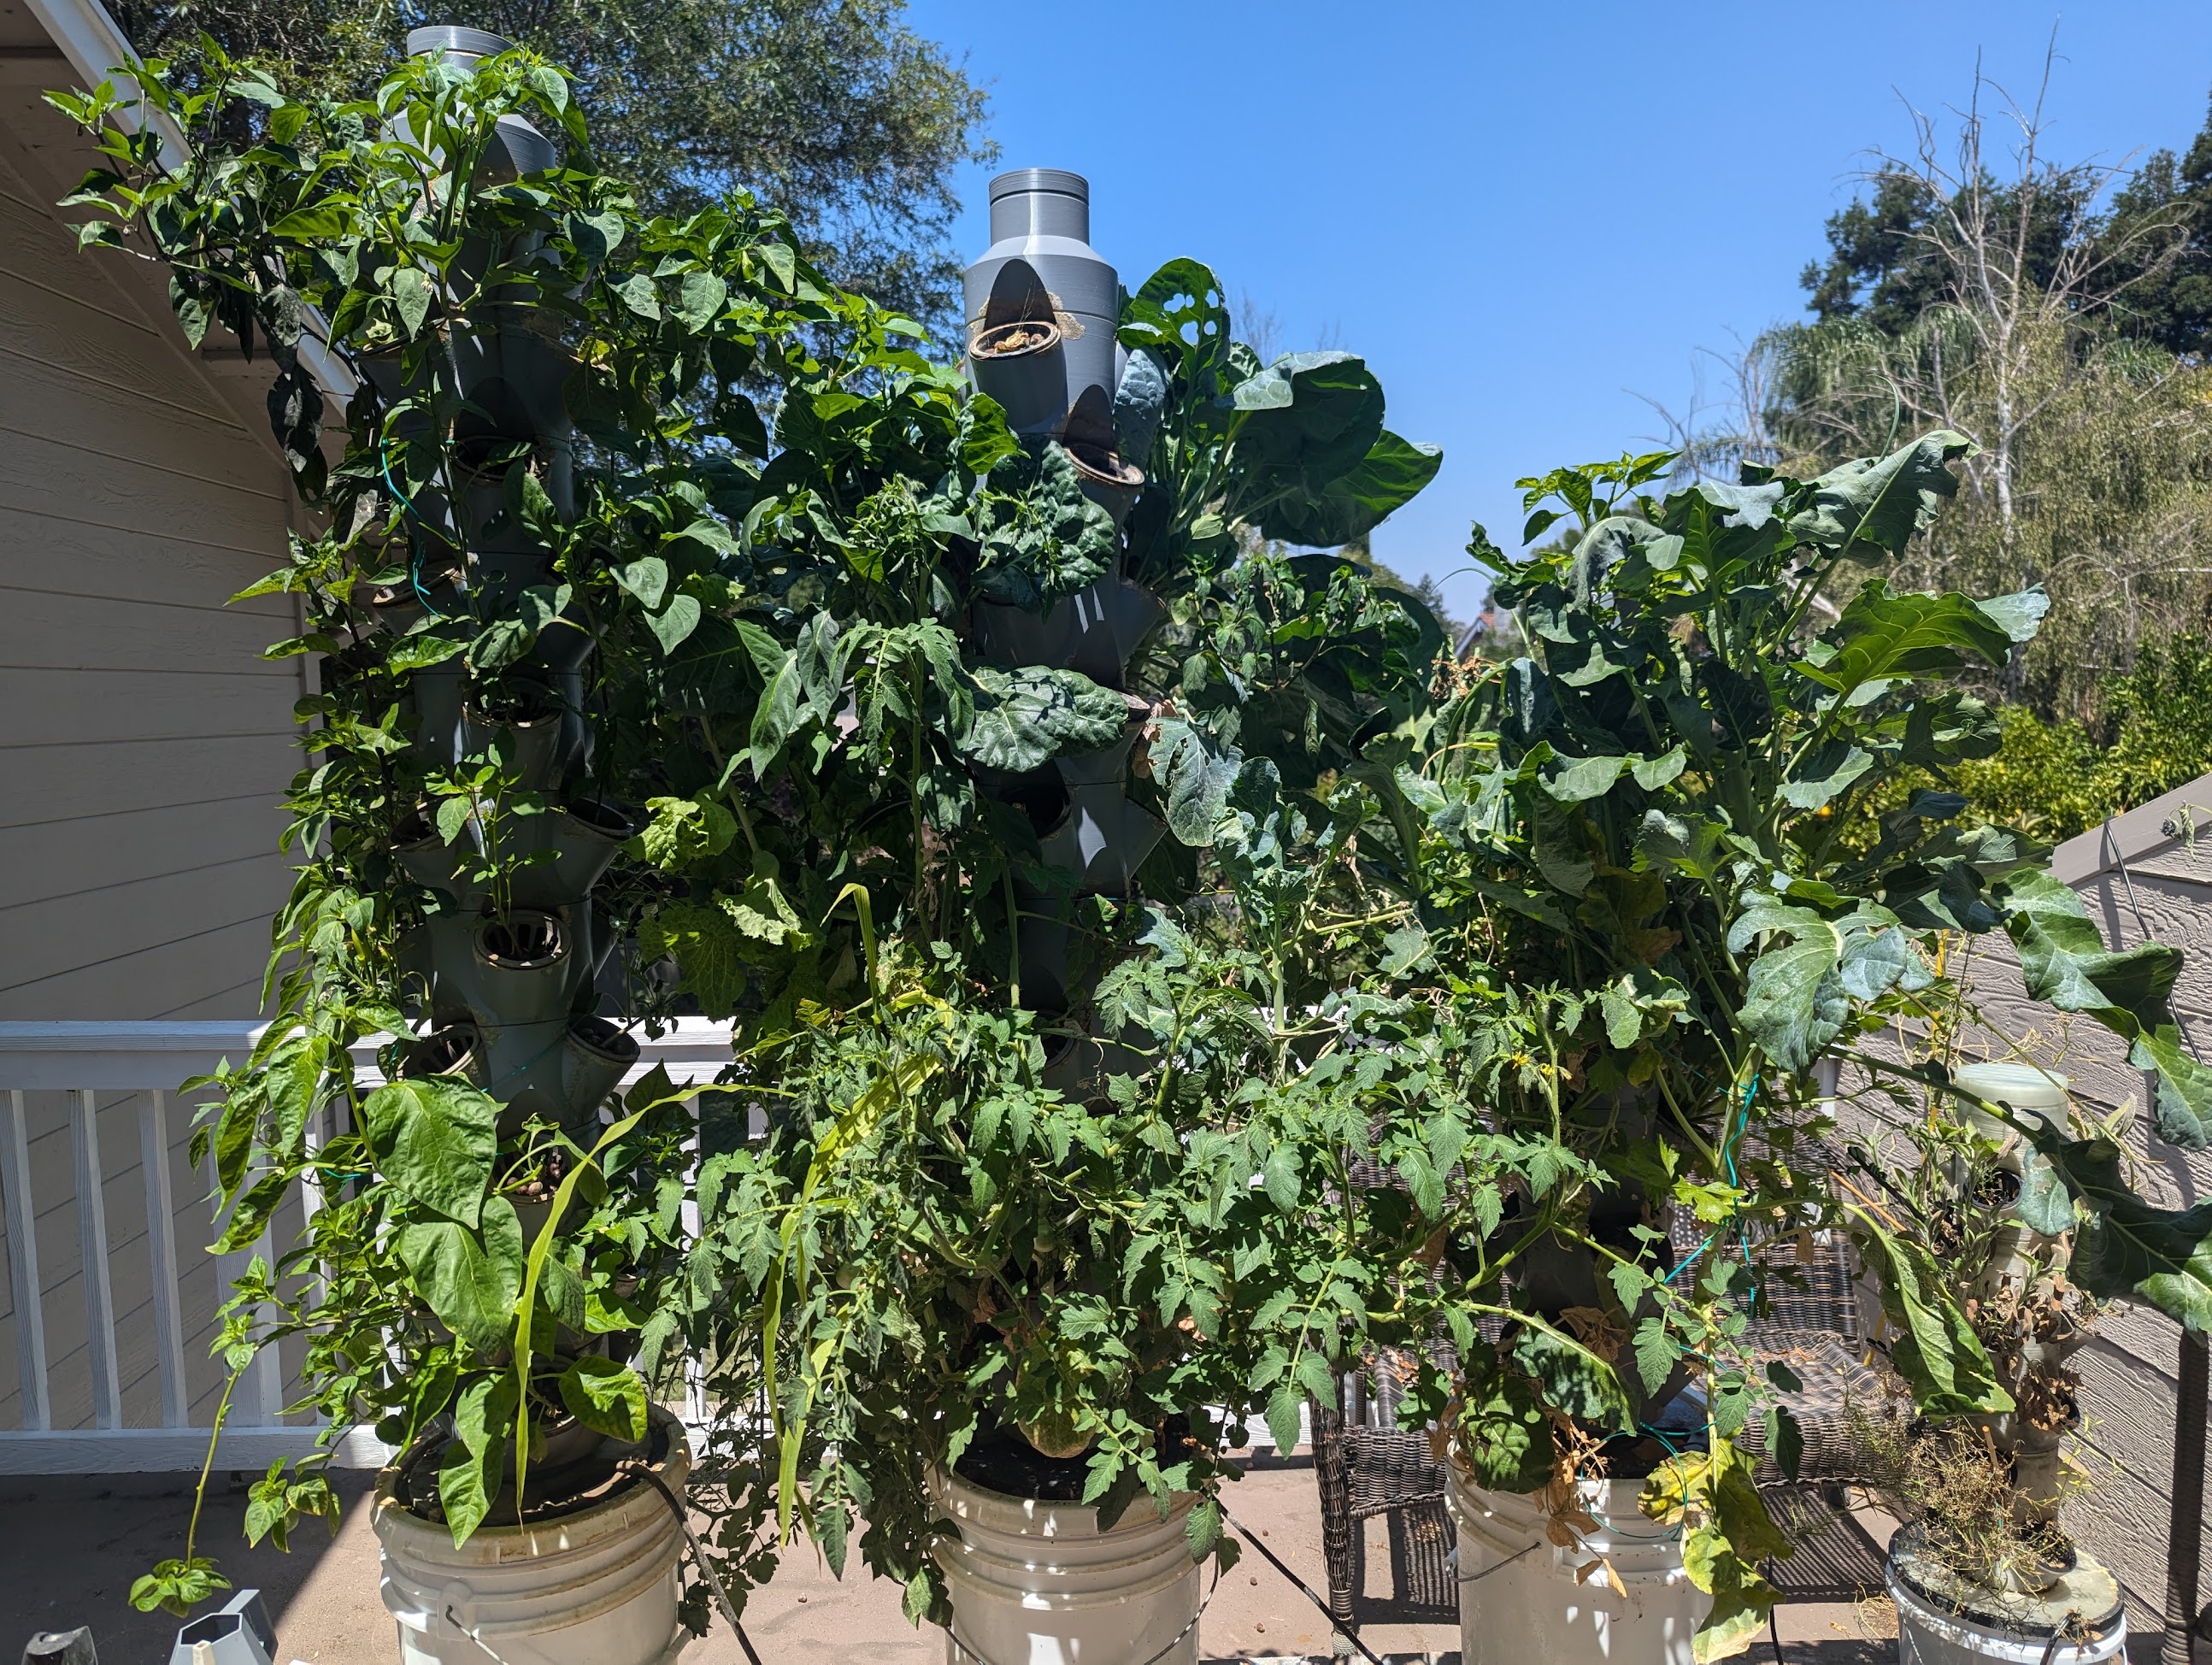
Growing your own food is awesome, but I think vertical farming is even more awesome, so I fired up my 3D printers and did a little hands-on engineering! I figured I would document how I did it in case anyone else wants to do something similar based on my work.
NOTE: this guide is just what worked for me, your mileage may vary, and there are lots of ways to do this. I am a noob myself and take no responsibility if you flood your house following these instructions. Please proceed with cautious enthusiasm and have some fun!
Table of Contents:
- 1. Printing The Parts
- 2. Power/Pump Management
- 3. Choosing Seeds
- 4. Planting Seeds
- 5. Transplantation
- 6. Maintenance
- 7. Retrospective
- 8. Future Work
1. Printing The Parts
Dani has done some exceptional work creating the original 3D models that this project is based on. My implementation also uses some files that were created by the community. I ended up producing some of my own using Fusion 360. Many of these files are floating around on the Discord server but I’ll do my best to provide direct links to any that I mention.
a. Choosing Your Plastic
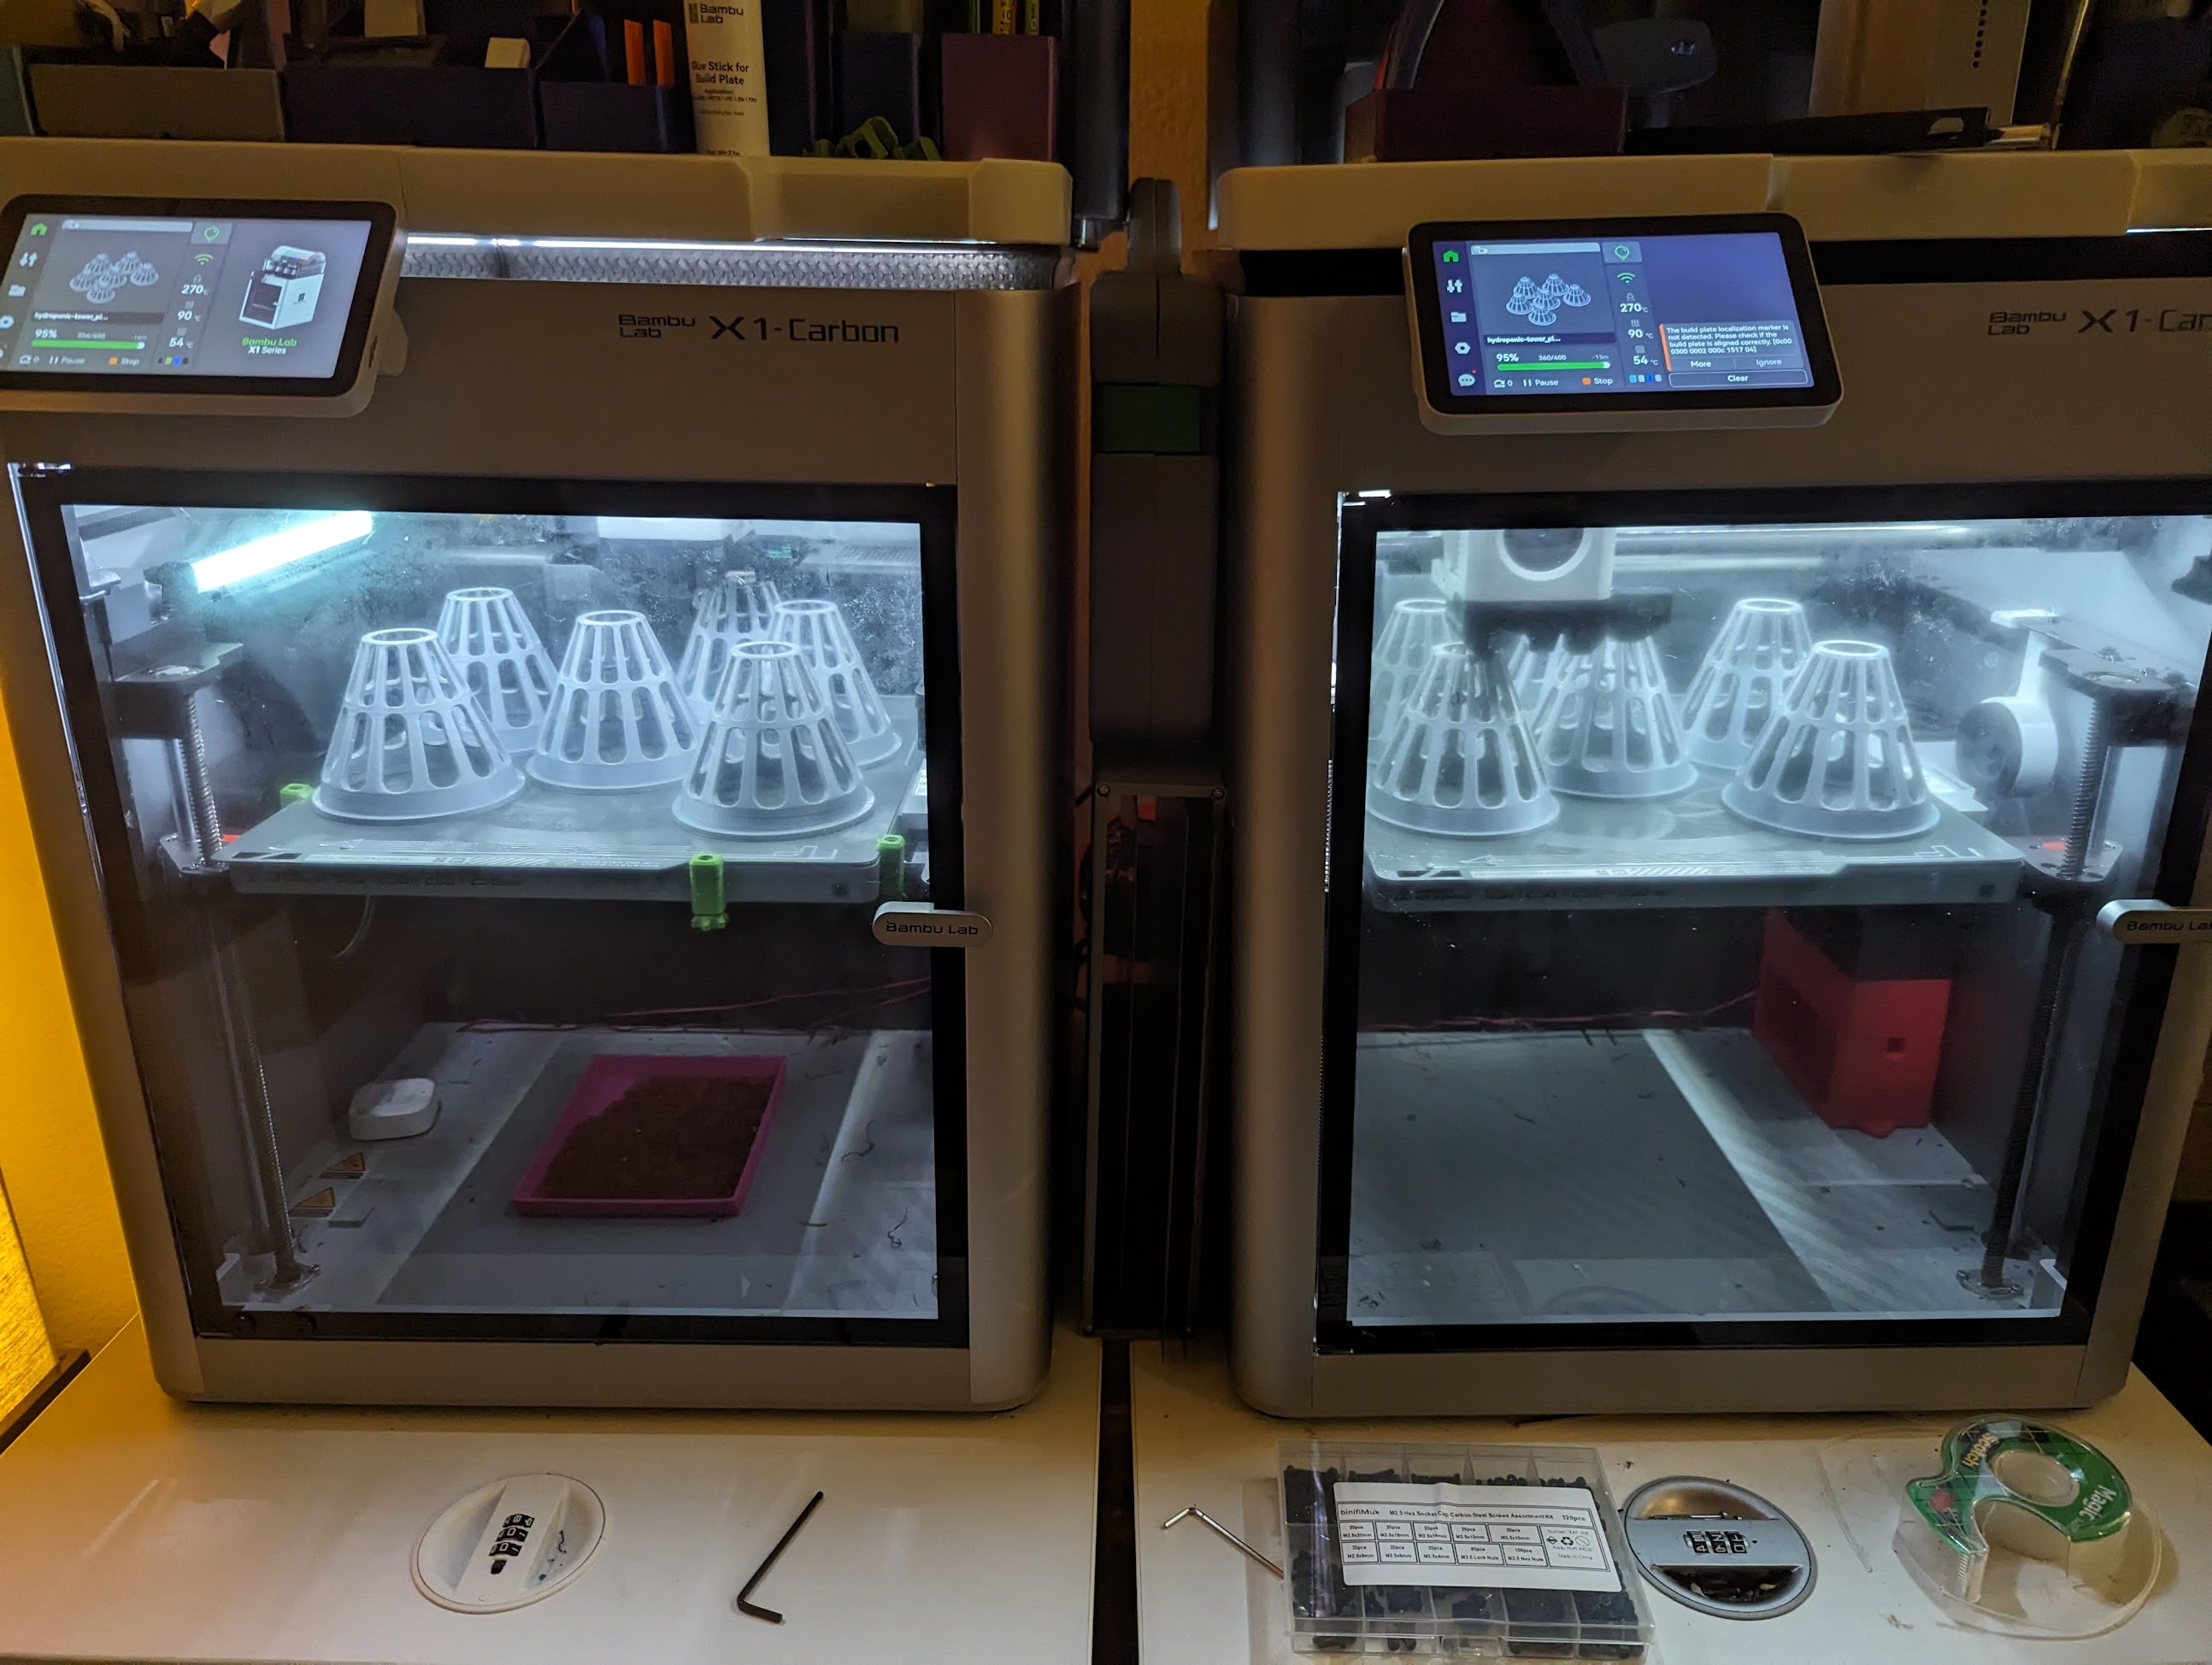
If you want your tower to be outside or in direct sunlight, then you’ll need something with UV resistance. I used ASA, but some other popular choices are PETG and ABS. If this is an indoor-only tower then you can use PLA. I also printed some using a food-safe copolyester from Fiberology which was semi-transparent and led to some thick algae growing since sunlight was able to reach the water in the bucket, so maybe avoid transparent filaments.
You will need a LOT of plastic for this. Each module I printed was about 250g. I printed 10-11 modules per tower plus the other parts came out to 3-4 kg of plastic filament per tower.
b. Bulkhead or Lid
I tried both the lid and bulkhead style and liked the bulkhead style better. I had a hard time getting the lid to be the exact right size for the 5L bucket that I’d purchased and ended up scaling it by like 98.7%. While this worked, I worry about it becoming loose over time.
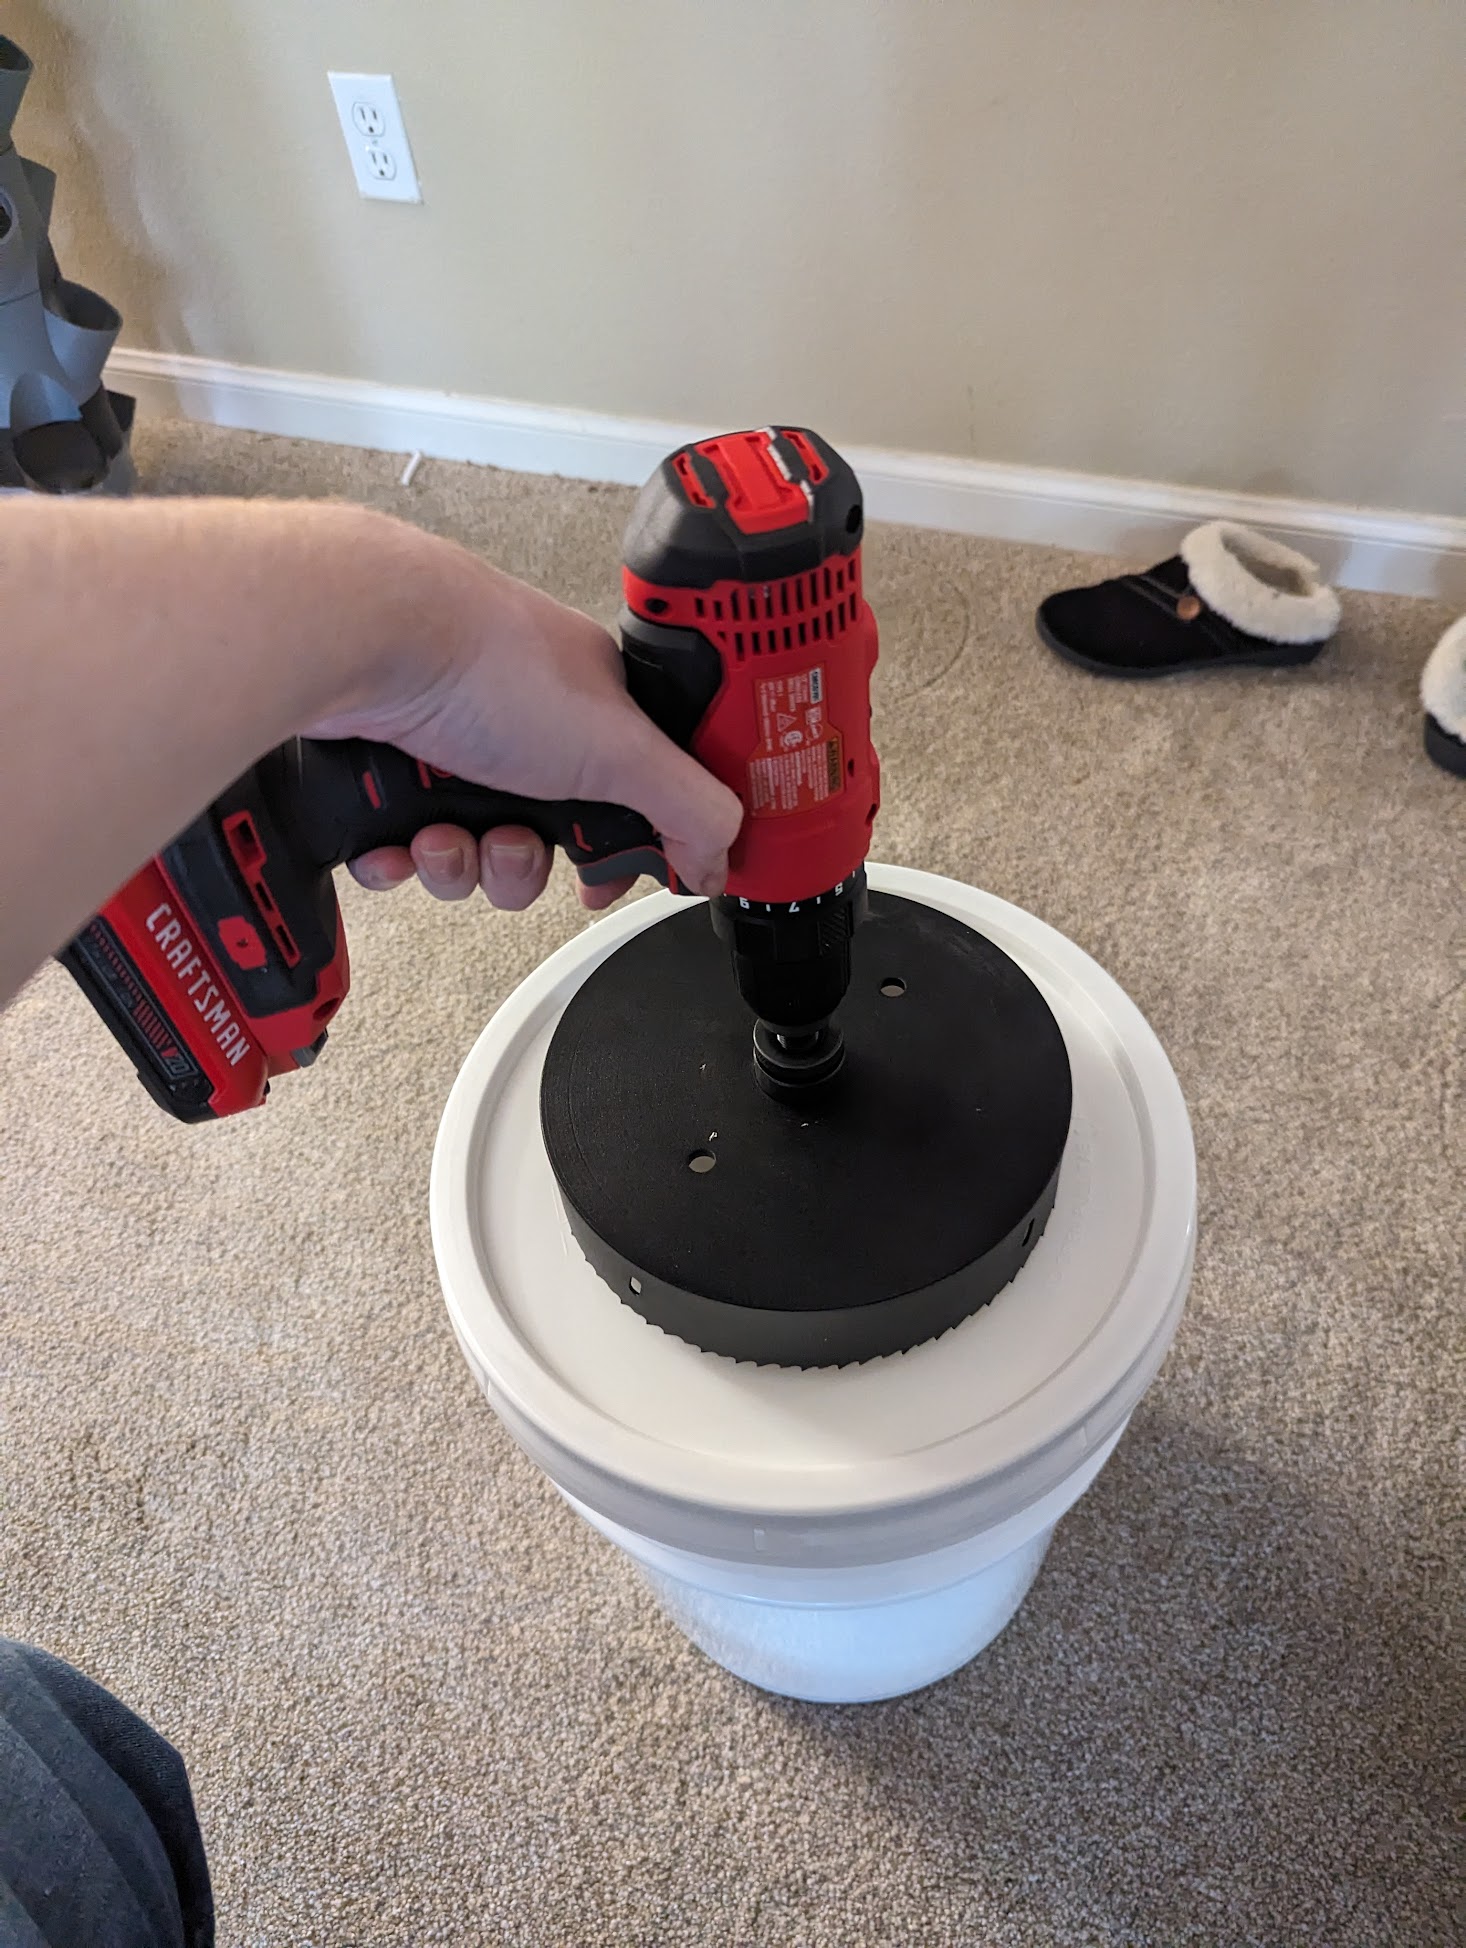
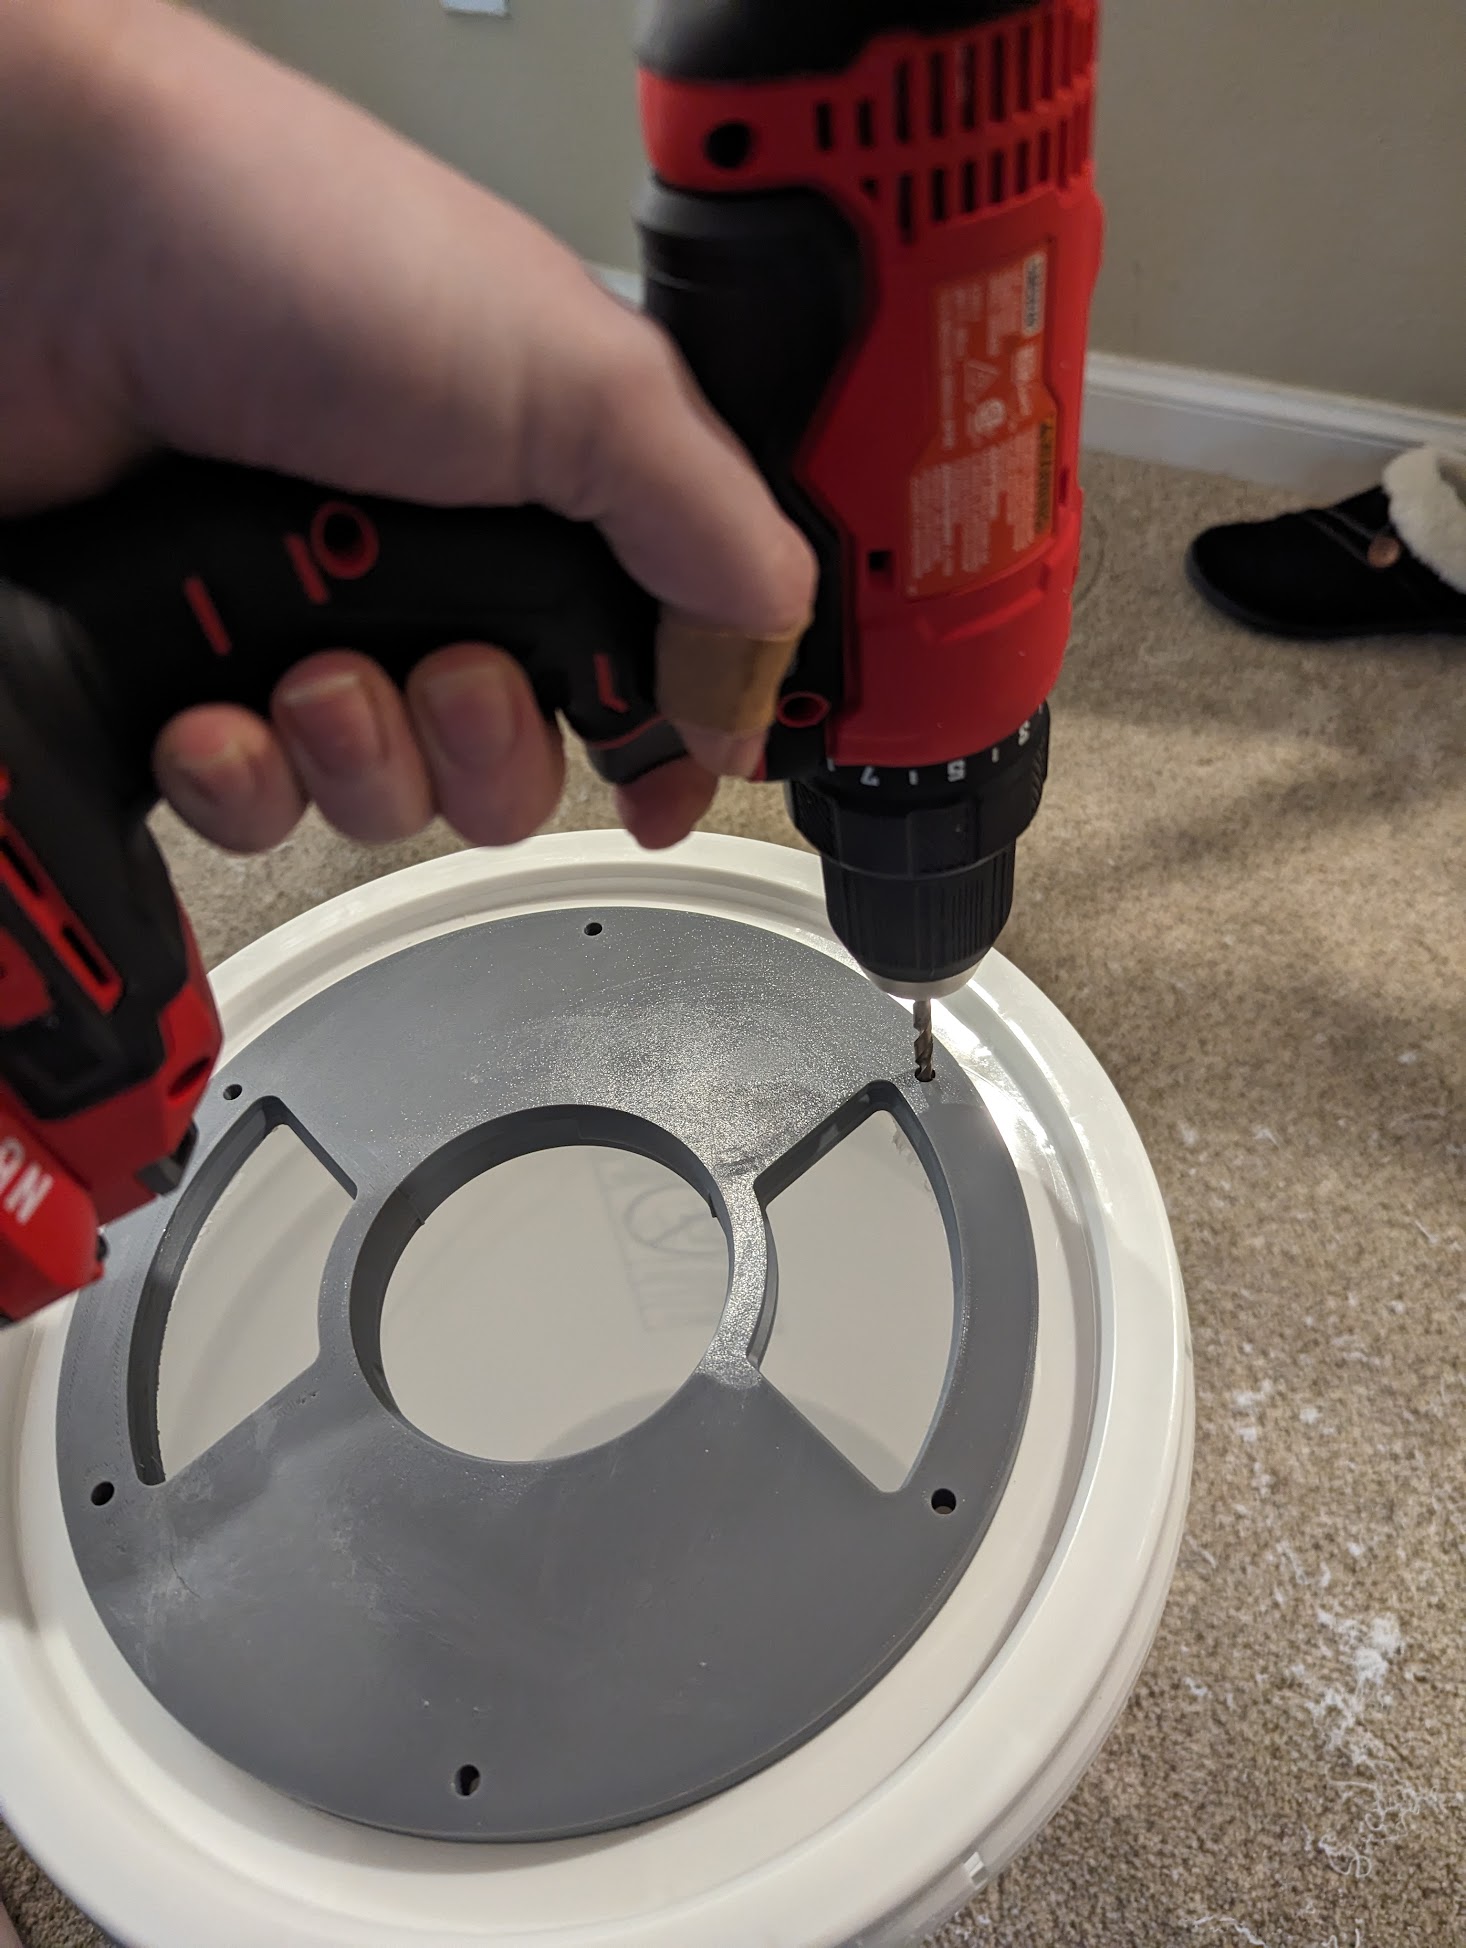
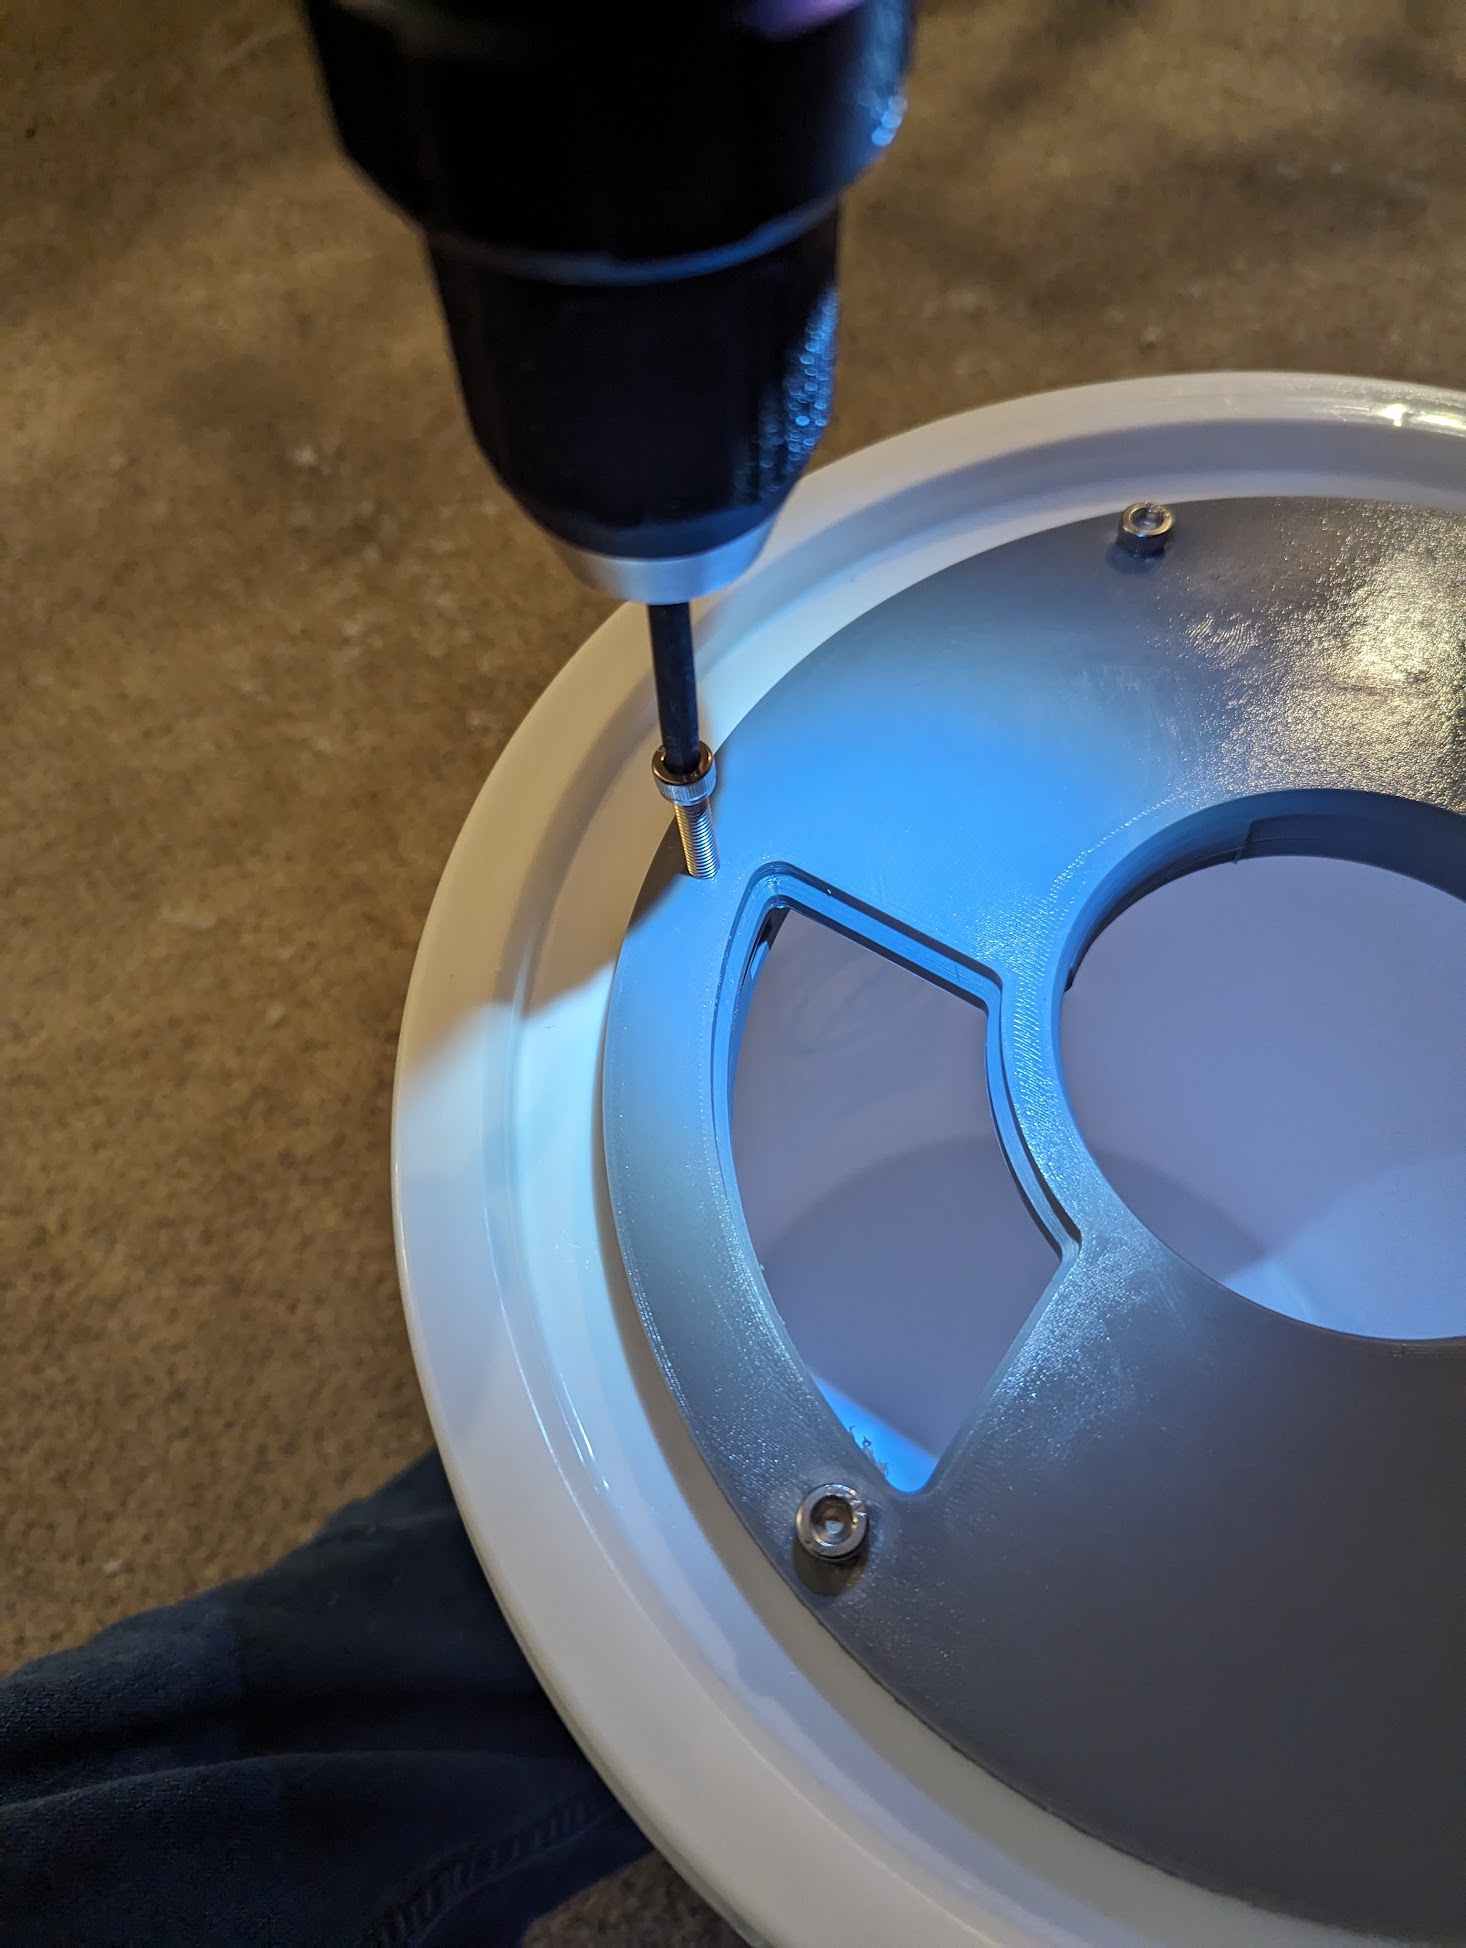
I ended up designing my own bulkhead that I bolted to the lid of a 5 gallon bucket with 6x M5x20mm bolts and 6 hex nuts. I used an 8” diameter circular saw attachment on my hand drill to drill the hole in the lid while it was firmly attached to the bucket. Be extremely careful, I almost removed my thumb doing this. Spinny saw very danger. After drilling the hole in the lid, place the bulkhead on top, use a hand drill to put six pilot holes through the bulkhead and into the lid. Insert each of the 6 hex nuts into their slots on the ring and hold it on the underside of the lid. Then insert each of the 6 hex bolts and fasten them through the bulkhead and lid into the nuts in the ring. Do not overtighten.
Make sure the bulkhead is firmly attached before proceeding. When attaching the base module to the bulkhead, insert the base module and twist clockwise until it stops. If you don’t get a tight fit then print it again with tighter tolerances. You don’t want a loose connection between your bulkhead and your tower because that can only get worse with time and can lead to the tower full of plants falling over which is pretty catastrophic.
.png)
c. Tower Modules
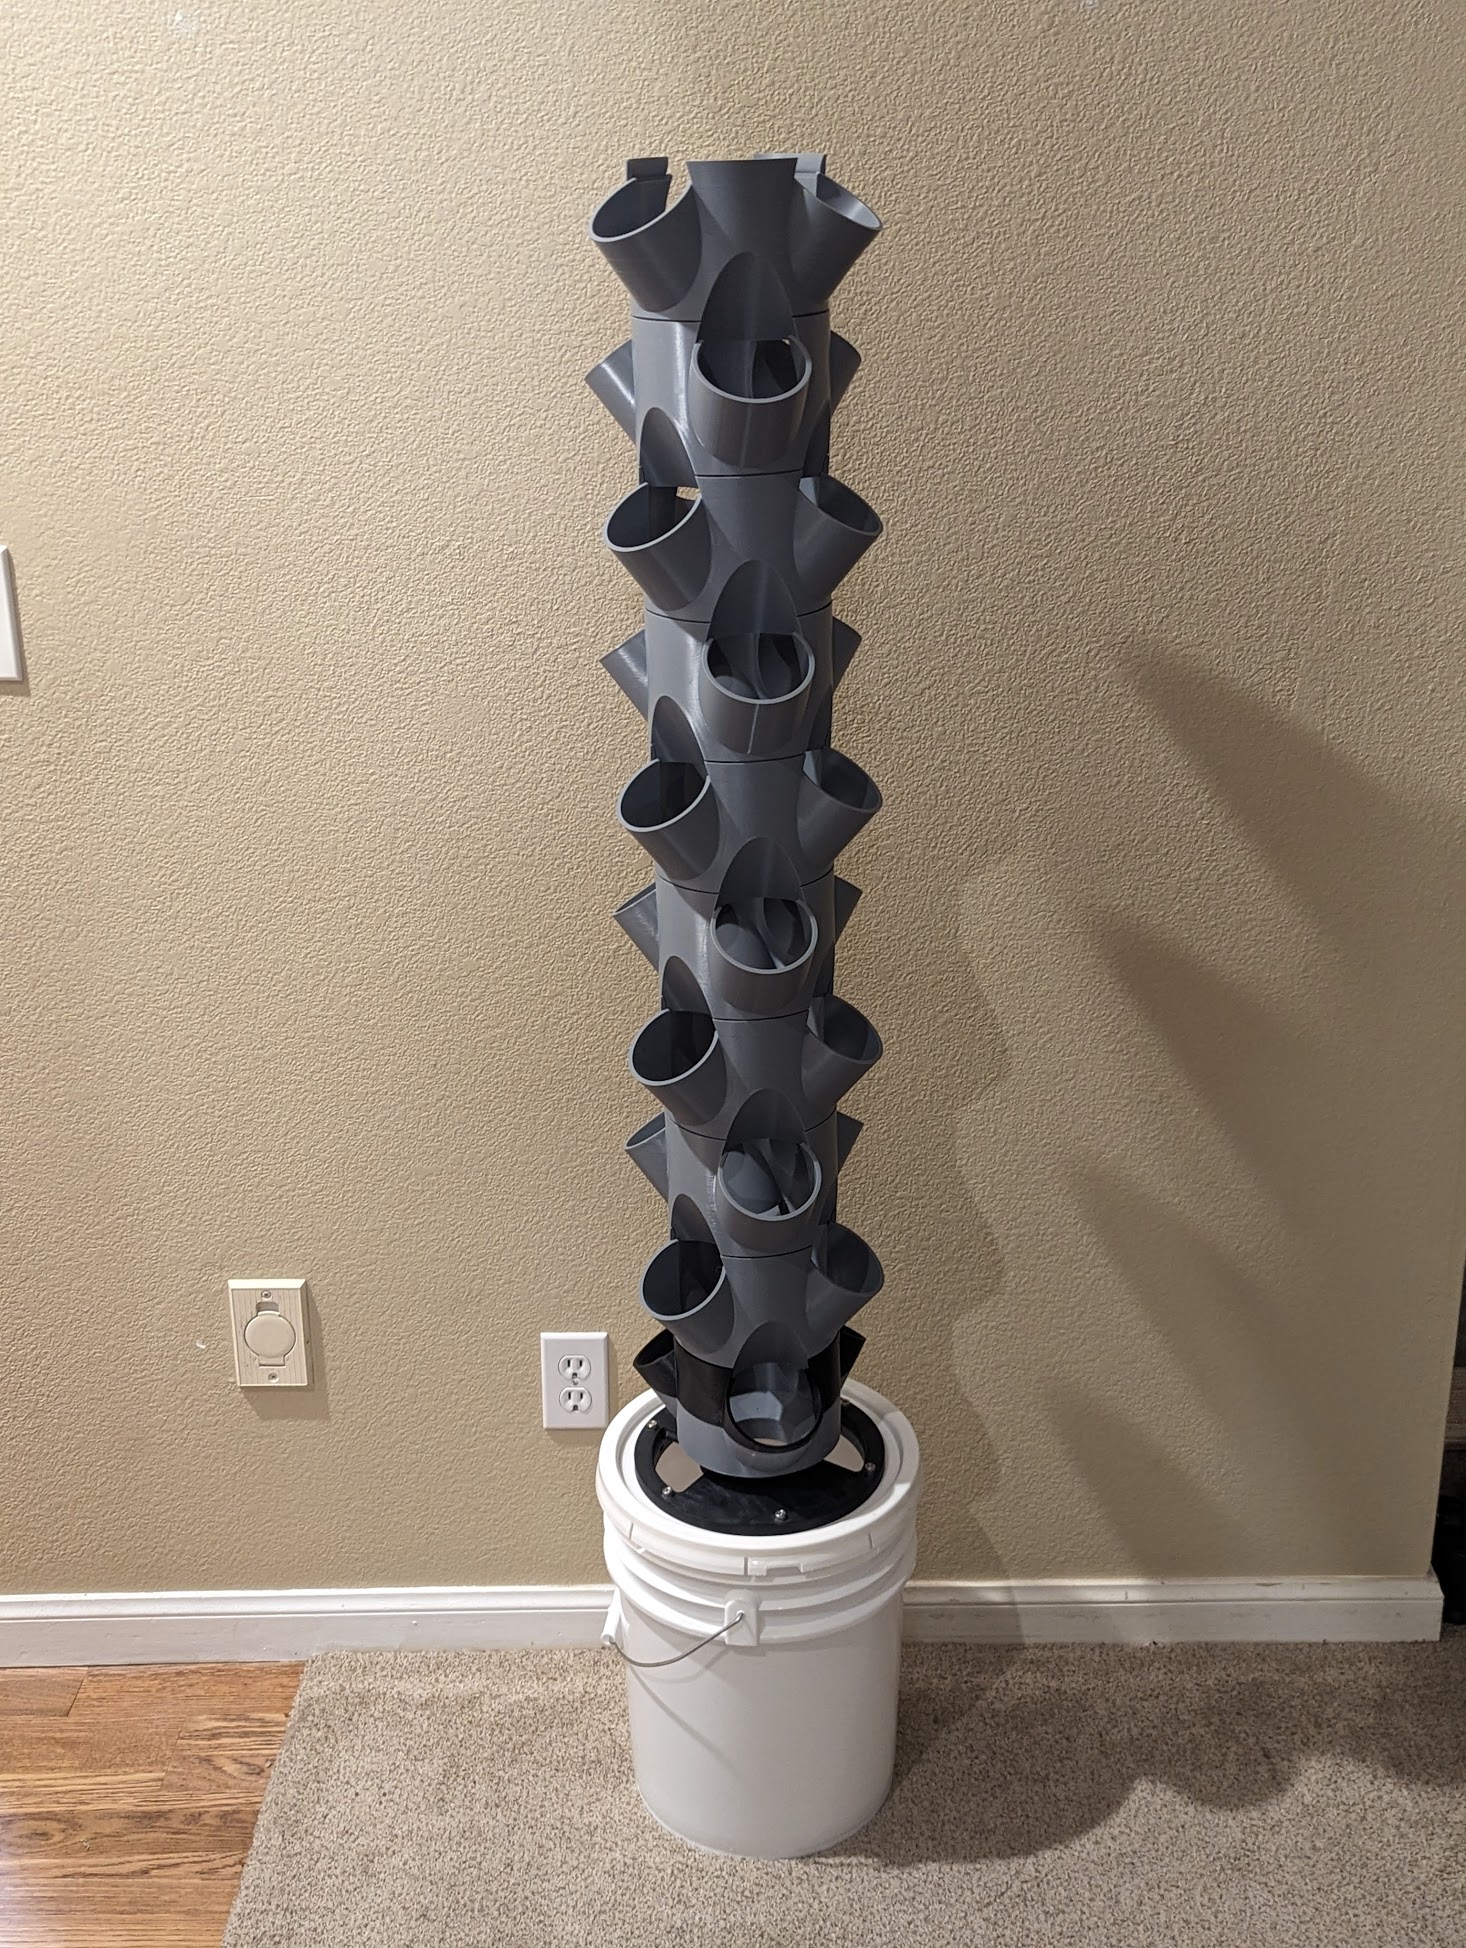
The original project comes with two tower module sizes, one module for a single 70mm diameter net cup and one module for 3x 50mm net cups. On the Discord server I found that someone had created a module with 3x 70mm net cups which I really liked but the diameter of the module itself was larger. This means that I needed to print an adapter that would go from the twist-and-lock mechanism that interfaces with the bulkhead into the larger diameter planter modules.
MushroomLamp on the Discord server has created tower modules that twist and lock instead of snap fitting and they look very slick but I haven’t had a chance to use them myself.
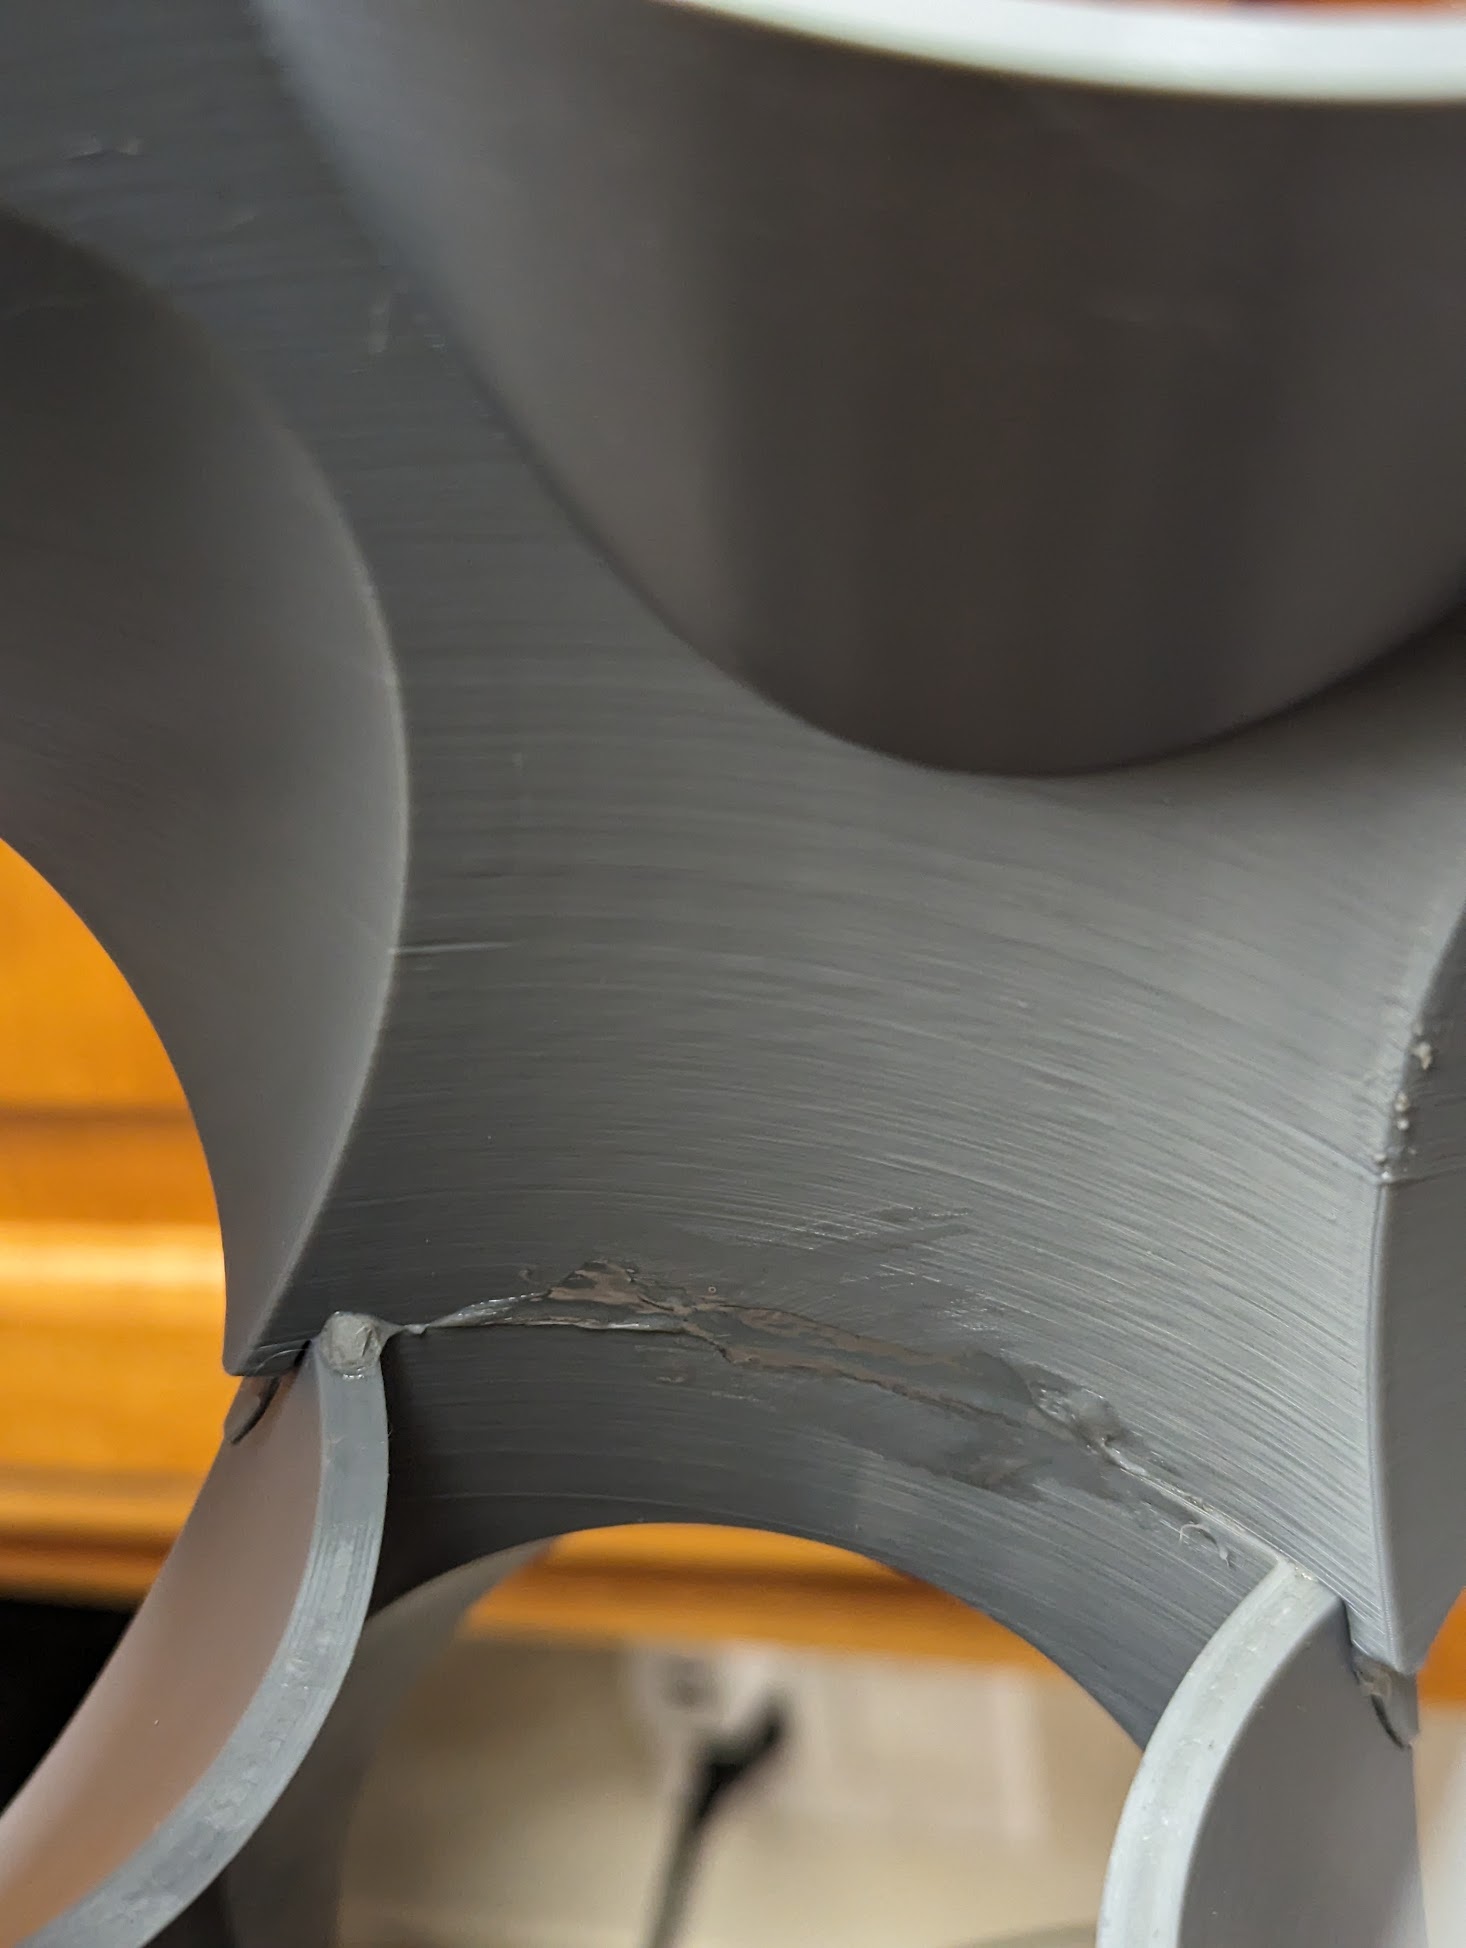
I used the snap fitting modules and glued them together with ASA glue. To make the glue you basically just cut up some ASA filament and put it in a glass container (do NOT use a plastic container) with some acetone and cover with plastic wrap, stirring occasionally allowing the plastic to dissolve. If the mixture is too watery then add more plastic or allow the mixture to remain uncovered for 10-15 minutes at a time to let some of the acetone evaporate. If the mixture hardens, just add some acetone and cover it, then let it sit for an hour or two. Once the mixture reaches a thick but still flowing consistency, use a paint brush to apply it to the parts of the planter modules that snap together. After fitting the glue-covered pieces together I took a finger and slid it along the seams to smooth any overflowing glue.
d. Chimney
I needed another adapter to go from the larger diameter back to the smaller diameter so that I could use the same showerhead and cap at the top of the tower, so I ended up designing one of those as well. This chimney part I snapped on instead of gluing just in case I needed easier access to the showerhead than what I would get just from taking the cap off.
e. Showerhead
.png)
Make sure your shower head fitting diameter matches the inner diameter of your tubing. Vinyl tubing is good but I found that it was prone to kinking if it’s bent at all so I ended up buying some reinforced vinyl tubing that worked way better.
A couple different times I had the showerhead come loose from the vinyl tubing after a few weeks and shoot off. When I checked on my tower the bucket was empty and the tube had yeeted all the water out of the top and all my plants were wilting. I highly recommend using zip ties or something similar to firmly attach the showerhead to your tubing.
2. Power/Pump Management
I used an 800 gallon per hour submersible pump rated for 24 watts. I plugged this into a smart power strip and used Home Assistant to schedule the pump. Unfortunately this was placed fairly far from my router so the connection was a little spotty. I wrote my automations to be fairly fault tolerant by repeatedly trying to turn the pump on/off and intermittently checking to see if it was successfully turned on/off.
Scheduling all of this was kind of tedious so I asked ChatGPT to write the configuration for me and after a few iterations it spat something out that worked fairly well.
.png)
a. How frequently to run the pump and for how long?
Everyone has a different answer to this question and I myself changed this around a lot during my first growing season. As a general rule, longer and more frequent runs are probably best early in a growing season to keep the seedlings moist, and later on you can back off and do shorter runs less frequently.
Initially I did 5 minutes on and 25 minutes off when my seedlings were 4-6 weeks old. Today most of my plants are flowering or producing fruit/veg, and I’m running for 3 minutes 15 seconds on and then 11 minutes 45 seconds off. This comes out to 4 runs per hour and I suspect I should have been running it less frequently due to the amount of stem rot I was seeing later on in this growing season.
Ultimately you’ll need to keep an eye on your plants and listen to what they’re telling you. If your leaf tips are starting to yellow then they might be experiencing nutrient burn and you want to dilute your nutrient water a bit or water less frequently.
If your plants are wilting then maybe you need to water more frequently or for a longer duration. Don’t be afraid to change things up if something doesn’t feel right and go with your gut. Remember that this is a fairly difficult thing to do and failure is absolutely an option. A ton of my plants died my first time around but I learned a lot, and I’m looking forward to starting fresh in the Spring with the knowledge I’ve gained.
3. Choosing Seeds
Note: I have virtually no experience growing anything up until a few months ago, my knowledge here is very sparse, take what I say with a grain of salt.
a. Edible crops
.png)
Generally speaking if it’s a plant (not a tree) and it grows above ground, you’ll likely be able to grow it aeroponically. One key exception to note are things that grow fruit/veg that are too heavy to be supported by the plant itself (e.g. watermelon, certain types of squash, etc).
Potatoes and root vegetables won’t work since there isn’t a sufficient growth medium for them.
Lettuce typically does very well in aeroponics. My tomatoes grew so well that I had to aggressively prune them as they started to take over my entire patio. With enough sun and heat, peppers will do really well too. I also grew broccoli, cauliflower, and brussel sprouts, which grew very large leaves which produced a lot of shade so I had to put them at the bottom of my towers.
b. Flowers
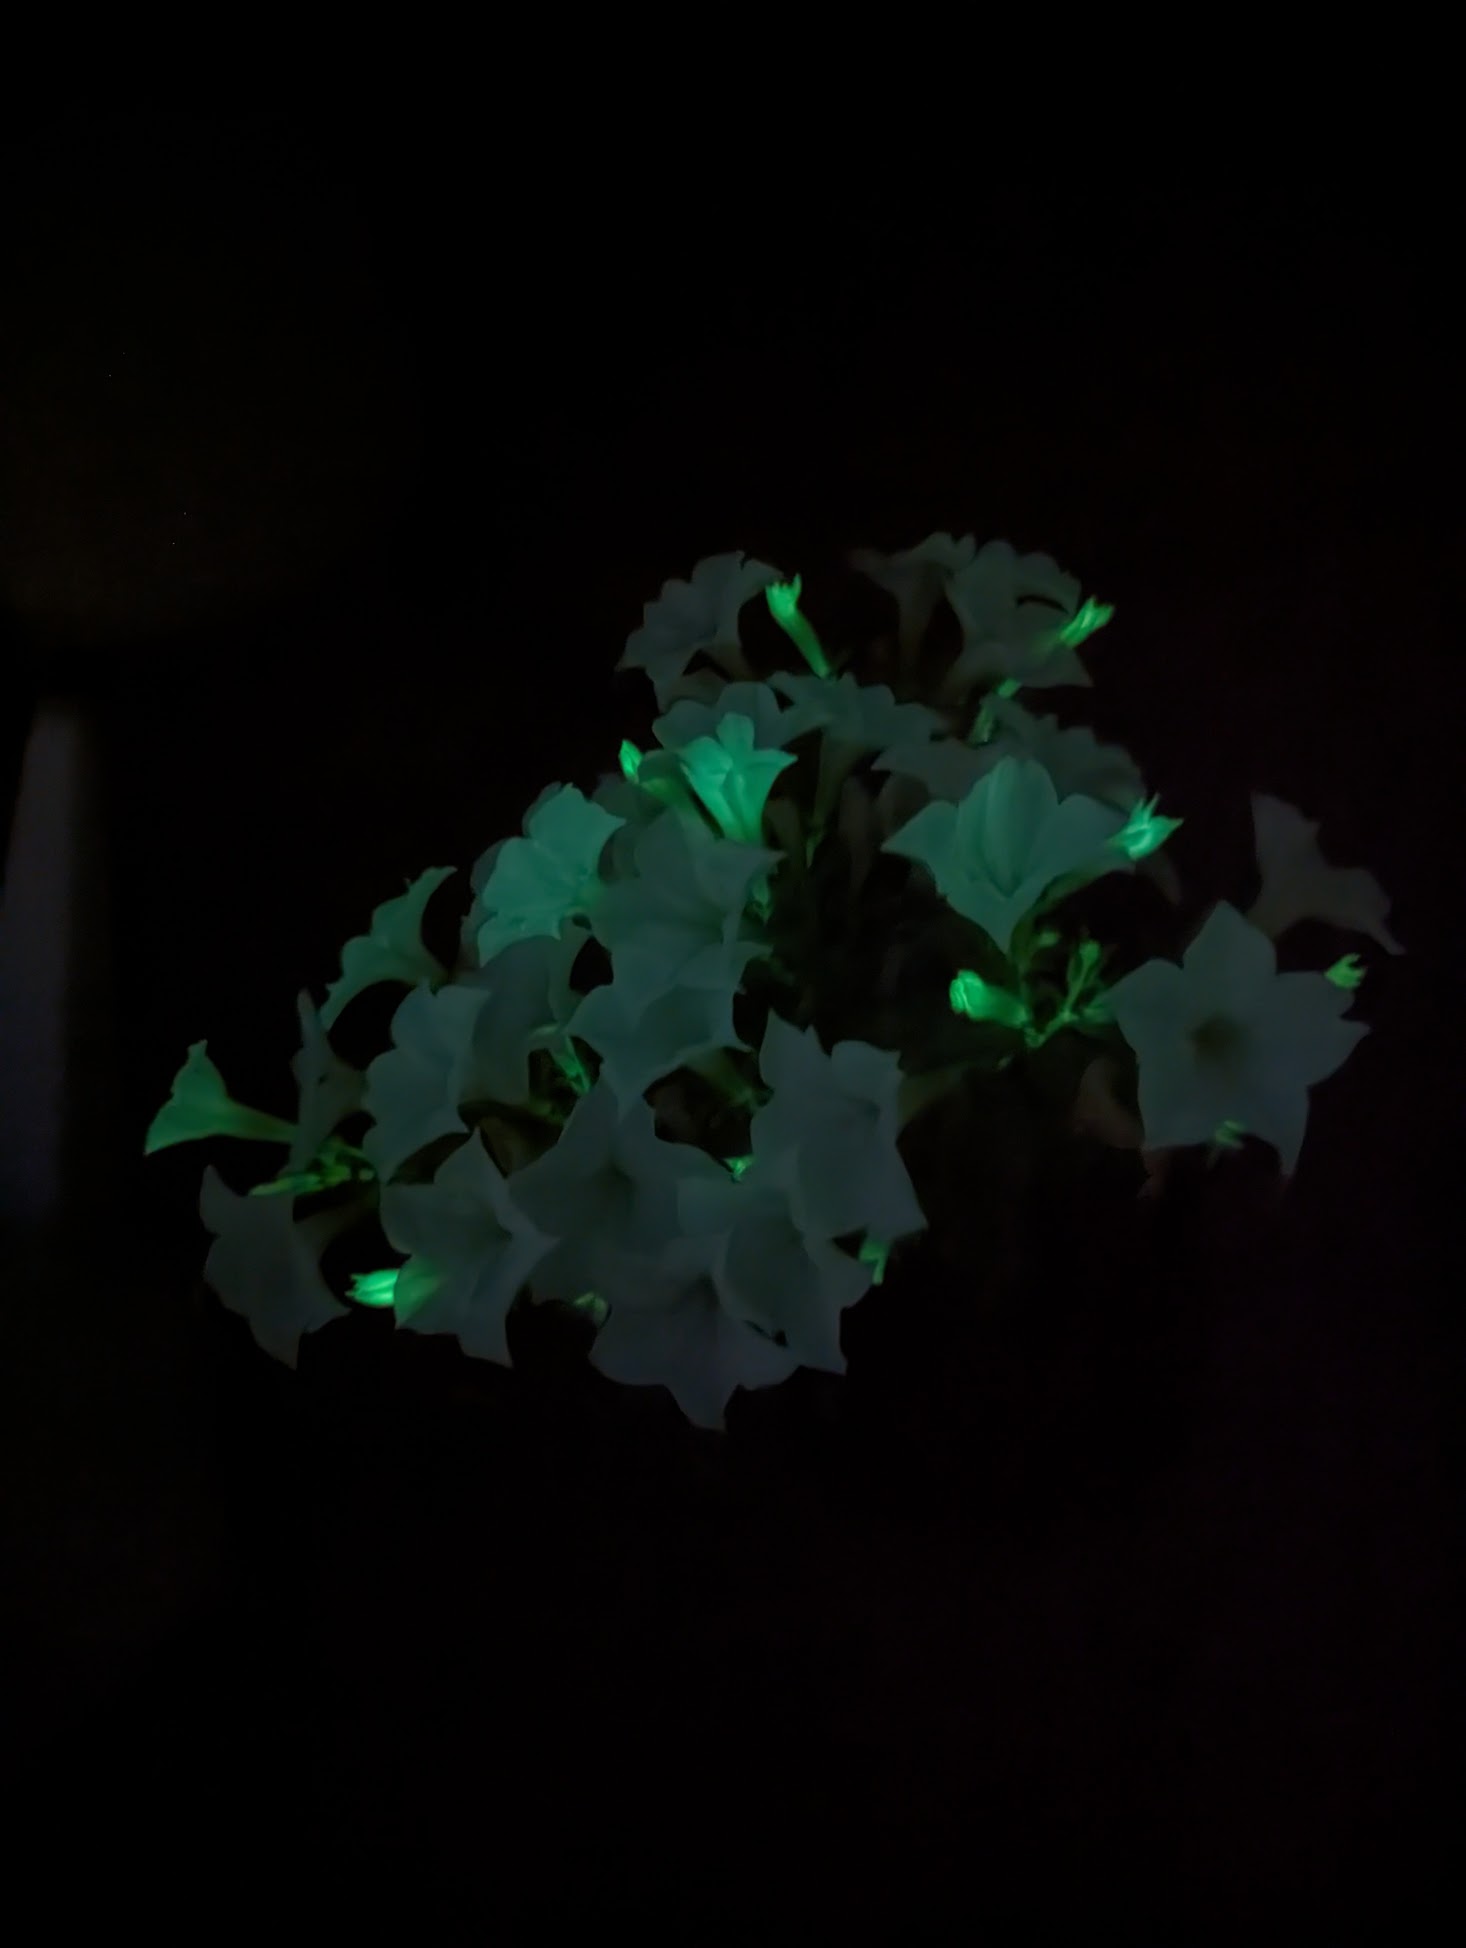
I didn’t grow any flowers in my towers so I don’t have much to say here other than that it’s possible. See the section on transplantation if you’re going to take flowers that were planted in soil and put them into a tower.
c. Herbs
.png)
Herbs are another great type of plant to grow. They tend to need less nutrients and water than other crops so it’s smart to group herbs in their own separate tower to avoid nutrient burn. You can also time your pump to run less frequently for your herb tower.
4. Planting Seeds
Sowing seeds directly into these towers produces difficult growing conditions for young plants which may result in a poor germination rate. It’s safest to grow seedlings in trays and then transplant them over once they’re more mature.
.png)
a. Equipment
I highly recommend getting a seed starter tray and planting into rockwool cubes. I used a starter tray that included an LED light so that I could put that on a timer. Keep in mind that some seeds do well with light early on, but some require complete darkness, so do some research on what you’re growing.
b. Sowing
Sowing just means planting a seed into a growth medium. To do this, I took a few seeds at a time out of their envelope and spread them on a dry paper towel. Then I used a pair of fine point tweezers to poke a hole in the rockwool about halfway through in the center and let the tweezers separate to expand the hole. I picked up one seed at a time with the tweezers and placed them in the hole in the rockwool. I placed two seeds per rockwool cube just in case one didn’t germinate. If both seeds germinate then you should cut out the smaller of the two around 3-4 weeks after sowing.
After sowing the seeds into the rockwool, place the cube into the seedling tray. Once all cubes are in the tray, make sure there is enough water to cover the bottom 5mm (quarter inch) of each cube with water. I recommend using filtered or bottled water to make sure there are no contaminants. Don’t add any nutrients yet, just pure water.
Definitely add labels too or use a spreadsheet to make sure you know which plants are where. I added labels and still managed to mix things up and now I have some peppers that I’m afraid to eat because I don’t know if they’re sweet or face-meltingly spicy. Label your plants.
c. Germinating
.png)
Germination is when a seed is soaked with water until it starts to sprout. This was the most painful part of this entire process for me because I’m an extremely impatient person. Most seeds will germinate in one or two weeks. Some take even longer. Let them sit and be patient.
Check what type of germination conditions your species of plant likes. Some plants like darkness, and if that’s the case for you then gently squish the top of the rockwool cube on either side so that the hole you dropped the seed into is closed, then press down from the top slightly to get the cube back into its original shape.
Some seeds like sunlight. I used the LEDs on my starter trays and a smart power outlet to turn them on and off at sunrise and sunset. This may have impaired some seeds from germinating sooner which prefer darkness, so be sure to keep them separated.
After they’ve germinated and you’re seeing small seedlings start to grow, you can start adding very tiny amounts of nutrients to give them a kickstart. In nature, plants have a tendency to put down deep roots. What we want is very wide arrays of a lot of shorter roots. We can achieve this by using Mycorrhiza mix which promotes more horizontal root growth. About 3-4 weeks after sowing, add some nutrient mix to a large container with water until your TDS meter reads about 200-300 ppm. Dump the water in the trays and replace it with this nutrient mixture. Remember that a higher amount of TDS (total dissolved solids) means more nutrients.
d. Seedling
Once you see a couple leaves on your germinating plant, you now have a seedling. At this point if you have multiple seedlings in a single rockwool cube it’s time to prune one of them. Firmly hold the seedling at the base and snip it off with a pair of scissors or pruning shears.
5. Transplantation
Once your seedlings have put down sturdy roots, it’s time to transplant them into your tower. It’s hard to know when the appropriate time is, but generally it’s when they have developed their second set of leaves and have at least a few inches of roots.
a. Field Trips
.png)
If your tower is outdoors then it’s worthwhile to slowly acclimate them to the new conditions. Suddenly throwing them into strong sunlight and wind can send them into shock and stunt their growth or even kill them. I took my seedlings outside and put them in the sun for an hour, then brought them back inside. Then the next day I left them outside for two hours, and so on until the end of the week I left them out for most of the day. After that week I transplanted them into their towers.
b. Stacking Plants
You want to place your smallest plants at the top of your tower and the largest plants at the bottom of the tower. The logic here is that you don’t want large plants to block the sunlight for the plants beneath them.
c. Grouping Plants
Plants have different nutrient and pH needs. It’s worthwhile to look them up before transplanting so that you can group plants with similar nutrient needs together in the same tower so that they can share a common nutrient mixture.
I shamelessly copied a list of all the plants I was growing into ChatGPT and described the five towers I was using and it gave me good placements for each of my plants. I did a bit of research to verify that the nutrient requirements were correct and that it was indeed putting the largest plants at the bottom, and it worked out great.
d. Transplanting Plants Grown In Soil
I only tried this with a few plants and there are definitely some unique risks and challenges to contend with. You want to remove the plant from its pot and soil, then rinse it out thoroughly to get as much soil out of the roots as you can. Be very gentle to avoid harming the roots themselves. I’ve done this by dunking the roots in a bucket of water and gently stirring it around and that worked well.
e. Putting Plants In The Net Pots
.png)
This part can have a significant impact on the long-term wellbeing of your plants so it has to be done very carefully. Basically you want to thread the roots of your plant through the holes in the bottom of the net cup. The roots are extremely fragile when wet, so it can help to intentionally let them dry out a bit over 15-20 minutes before attempting this. Tweezers or even chopsticks can help with this process. Use tools, not your fingers.
After threading the roots through, you want the rockwool to be squeezed solidly in the bottom of the net pot.
I placed hydroton (dry clay balls) on top of the rockwool to fill the rest of the pot and keep things from getting too wet, but I’m not sure how necessary this is.
6. Maintenance
Most of the work on these towers just involves topping off each of the buckets and making sure they have enough water. At some point I’d like to automate as much of this as possible, see the future work section.
a. Germination/Seedling Stage
All you really need to do is make sure that the bottom 5mm of each rockwool cube is covered in water. About 3-4 weeks after sowing the seeds you can start to slowly add nutrient mix to the water. 100-200 ppm is a good place to start and if the seedlings are still looking good after a few days you can probably increase that by another 100-200 ppm.
b. Adding Water To The Bucket
I check on the towers twice a day, once in the early afternoon around lunch and once before I go to bed. Outdoors in the California summer I noted an average water loss of about 2 gallons per day in my 5-gallon buckets. The more water is lost, the more concentrated your nutrient mixture, which could result in nutrient burn, which is when the tips of your plants’ leaves start to turn yellow. If you notice this, you may want to add water more frequently or just dump out your nutrient mixture and start fresh.
c. Refreshing Nutrient Mixture
Every 3-4 weeks I pump out all the water from each bucket and start fresh. I bought an electric handheld pump and I stick the tip of it in the bottom of the bucket and put the output hose in another bucket. Hold the tower steady while you do this because most of the stability of the tower comes from the water, so once it’s empty it’ll become very top-heavy.
5 gallons of water weighs 41.7 pounds (18.9 kg) so if you’re lifting a full bucket of water be sure to lift with your legs and not your back.
Spent nutrient water should be neutralized and disposed of responsibly according to local laws and regulations. Dumping nitrogenated water into waterways is ecologically disastrous and sometimes criminal. Do the right thing for your neighbors and those who come after you.
d. Monitoring and Data Gathering
I used a TDS/EC meter to measure the amount of dissolved solids (i.e. nutrients) in the water in the bucket. I also used a pH meter to measure the pH of the water in the bucket. These two measurements give you a good idea of the “health” of the water that you’re using to water your plants. Meters can have very different measurements for the same water so it’s important to always use the same meter. You can use the EC (electrical conductivity) measurement if you want, which will generally be some multiple of the TDS value depending on the manufacturer of the meter. The meter I use literally just multiplies the TDS value by 2 to calculate the EC level.
Let a couple of pump cycles run after adding nutrients before measuring since it takes some time for the nutrients to dissolve.
Generally speaking you want your pH to be very slightly acidic (6.0-6.5) but it’s important to check what the plants you’re growing prefer because this can vary quite a bit.
The appropriate TDS level will vary based on the stage of plant development.
| Growing Stage | TDS Level |
| Germination | 0 ppm |
| Seedling | 100-400 ppm |
| Vegetation | 600-800 ppm |
| Flowering/fruiting | 1000-1600 ppm |
Seedlings should have a TDS of their nutrient mixture around 200-400 ppm. Once they start to get large and branch out you can bring that up to 600-800 ppm. When plants start producing flowers you can bring that up over 1000 ppm or even more depending on what you’re growing.
e. Mixing Nutrients
Whatever nutrients you decide on using, make sure that they are marketed as soluble or dissolvable. If they’re not then you may end up with clumps of fertilizer/nutrients clogging your pump or hose.
I ended up using three different types of nutrients: a mycorrhiza mix, a general-purpose mix, and a flowering/fruiting mix. I used the general-purpose mix at all stages of growth. I added some myco during the germination/seedling stages. I added some flowering/fruiting mix once I started to see flowers budding.
Different species of plants will have different nutrient needs, so look them up. I’ve found that most nutrient mixes suggest a TDS level that’s way too high, so I’ve started lower than they recommend, about 50% of the advertised value.
f. Fighting Root/Stem Rot and Algae
.png)
Later on in the lives of the plants (late vegetative stage and flowering/fruiting stage) it’s possible for the stems to start to decay. Often this happens because they’re persistently wet. It can help to reseat the rockwool in the net cup to be a bit higher up or by stuffing hydroton into the bottom of the net cup. If these aren’t feasible or you want to be cautious, you can utilize the following inoculation regimen to ensure the health of your plants.
Start by adding 5-15 mL of 3% hydrogen peroxide per gallon of water. I added about 25mL to my 5 gallon buckets. This will start killing bad bacteria which might be on the roots/stems of your plants. Let this work for a couple of days.
After 48 hours it’s safe to add some root inoculant. I used a bacterial inoculant called Hydroguard and added about 10mL per bucket. I got a very small graduated cylinder to get the measurement very precise but I doubt that it matters that much. Don’t add the Hydroguard at the same time as the hydrogen peroxide or else the hydrogen peroxide will just kill the bacteria in the Hydroguard which defeats the purpose.
Algae can develop if you use semi-transparent filament. I’m a dummy and did that with my first two towers and it was hard to stay ahead of. Don’t do that. Use a solid color filament. If algae develops, the above procedure might help but you may end up needing to research a more robust methodology for eliminating the algae.
g. Aphids and Other Pests

Around halfway through the growing season I started to notice little white/gray insects on the leaves of my broccoli, brussel sprouts, and cauliflower. They were some type of aphid. I didn’t want to use any insecticide/pesticide so I ended up spraying neem oil (non-toxic, but kinda smelly) on all of my plants every few days and that seemed to work as long as I was doing it consistently. I noticed that if I went more than 3 or 4 days without spraying, they’d be infesting one of the leaves of my broccoli plant before too long.
7. Retrospective
A lot of my plants died from stem rot. Like, a lot… Maybe 10-15%. I wish I had been more diligent with my hydrogen peroxide and Hydroguard and used them every week from the start.
Some of my plants became very top-heavy and jumped out of the tower on their own. I eventually used some wire ties to lash them to the tower but not after I’d lost several plants. I’m going to tie every cup down from the start next time to make sure they’re firmly attached to the tower. There’s probably a more elegant solution to this problem by printing specific cups that fit into the tower modules in a specific way but that’s a problem for another day.
Aphids were a menace and I wish I had been more consistent with the neem oil spray so they couldn’t take root. They did a lot of damage to one of my broccoli plants and completely destroyed my cauliflower.
8. Future Work
a. Solar Power
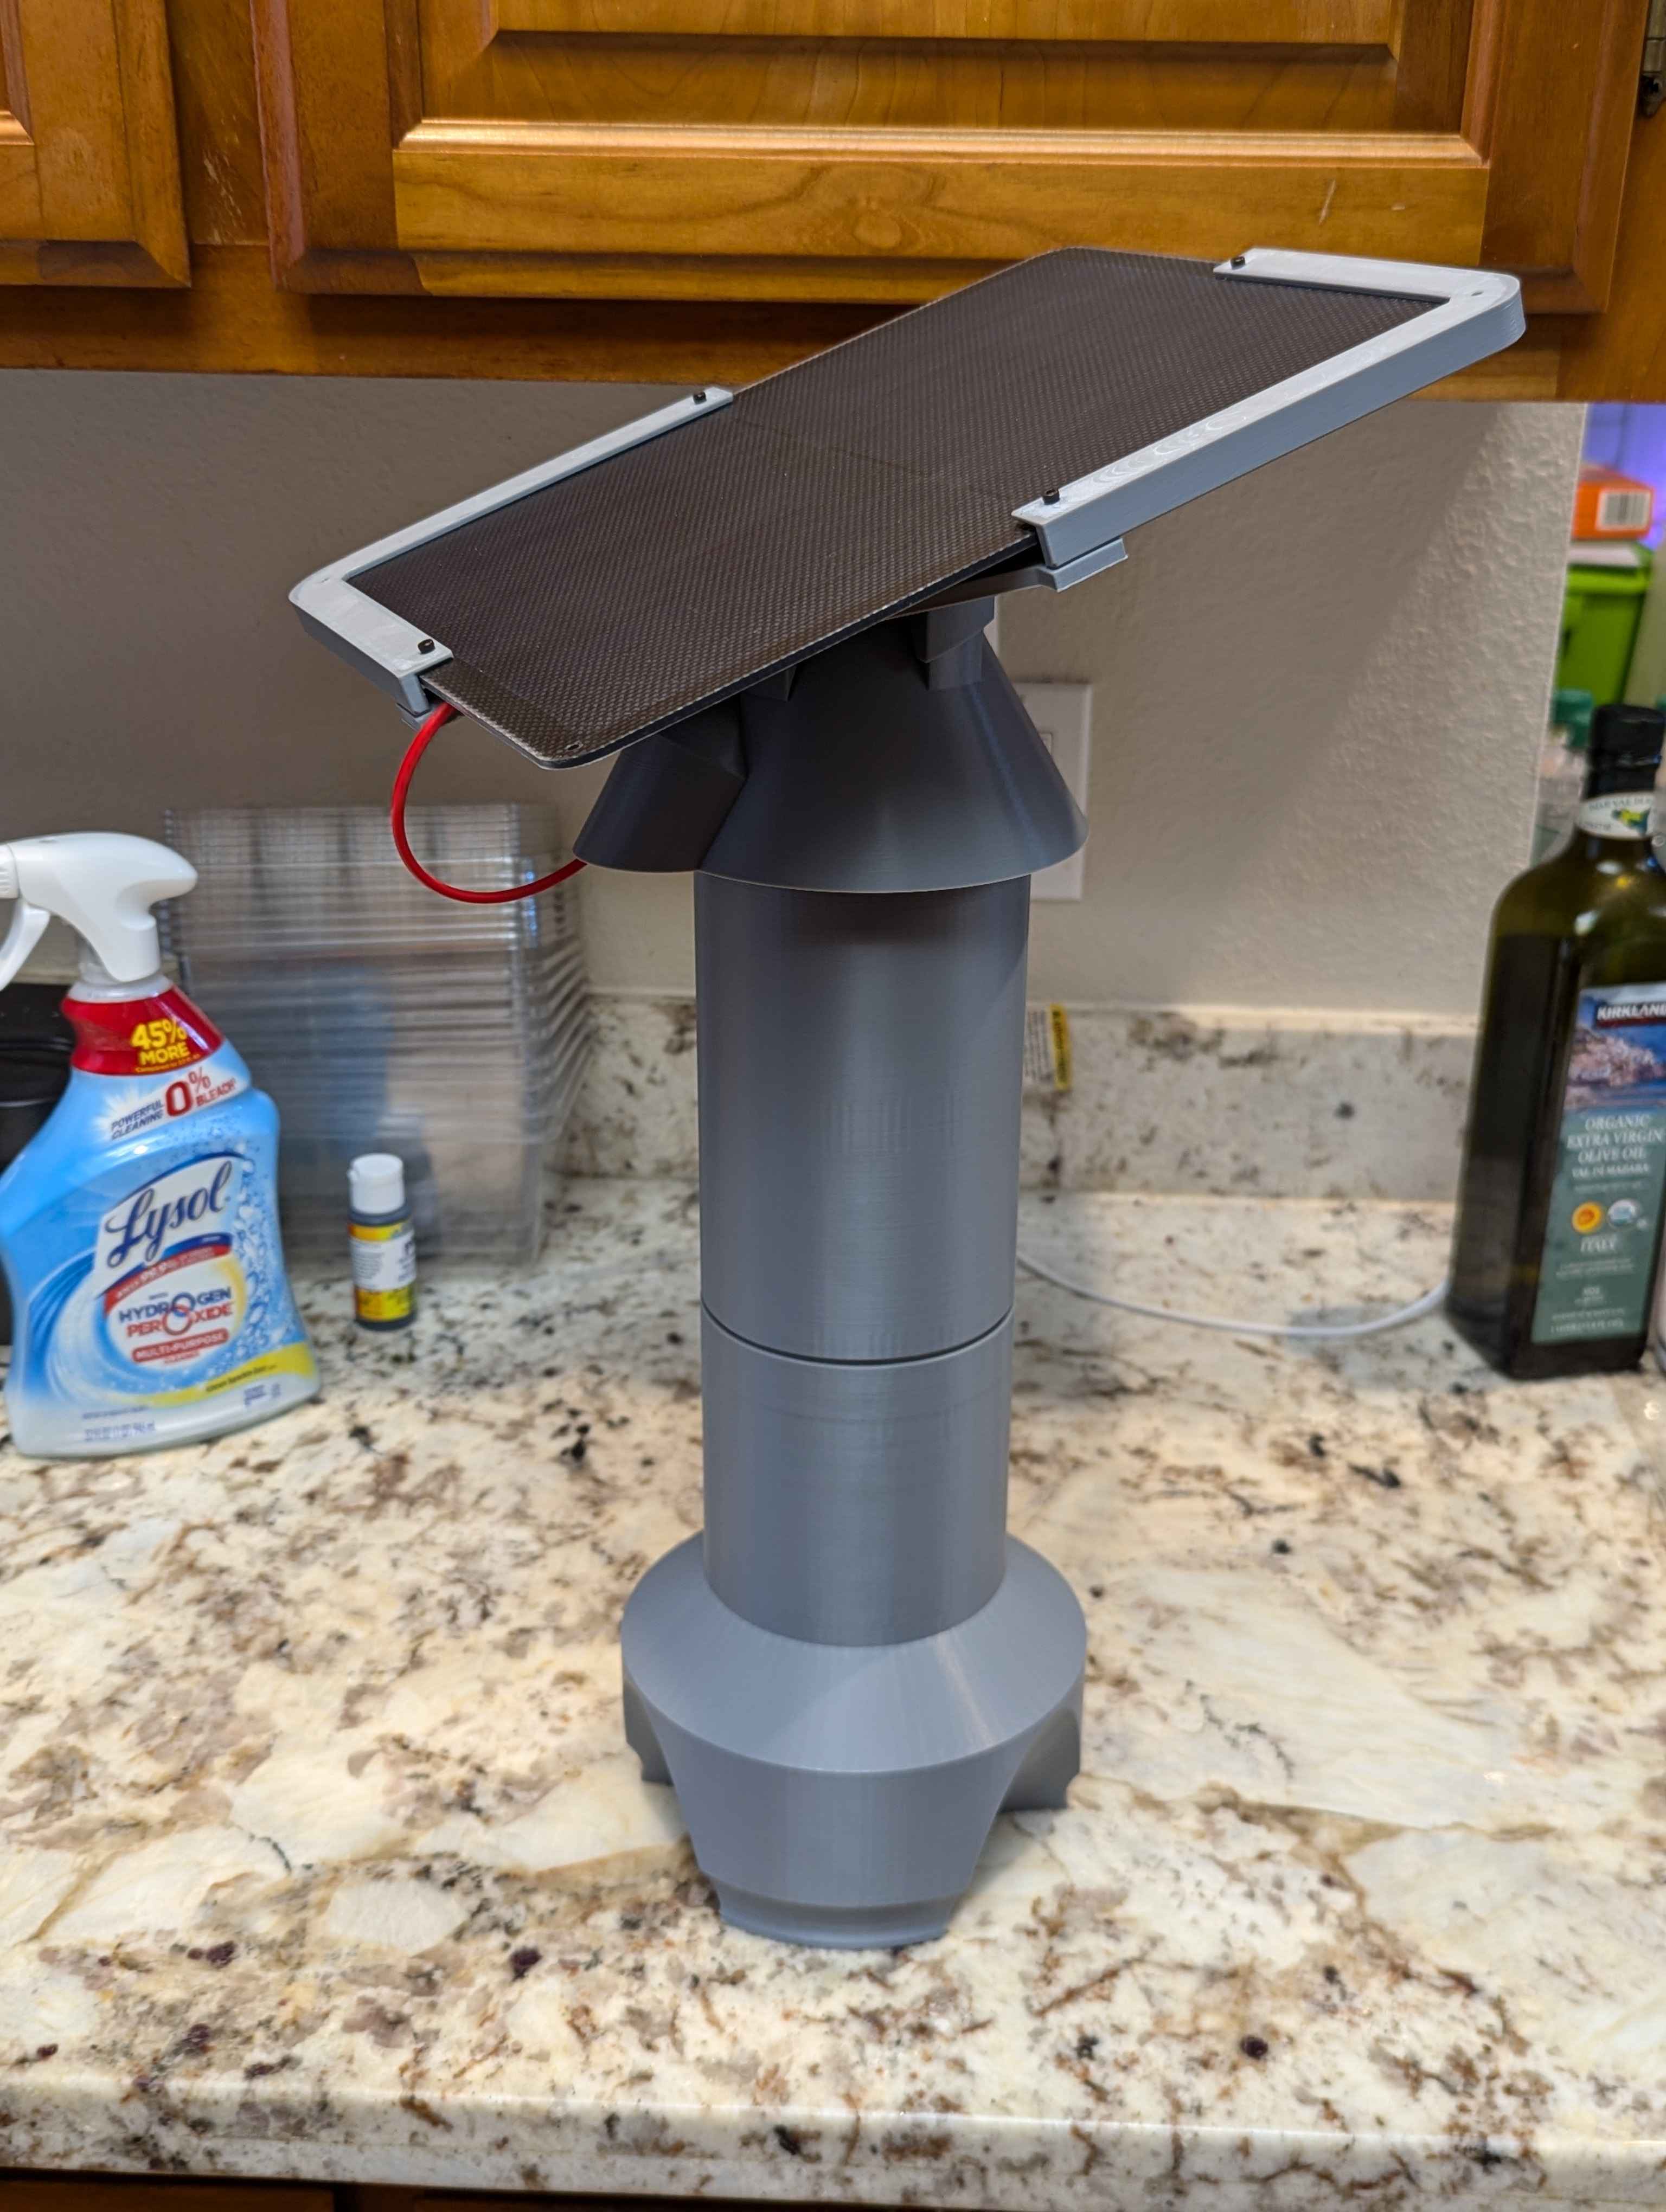
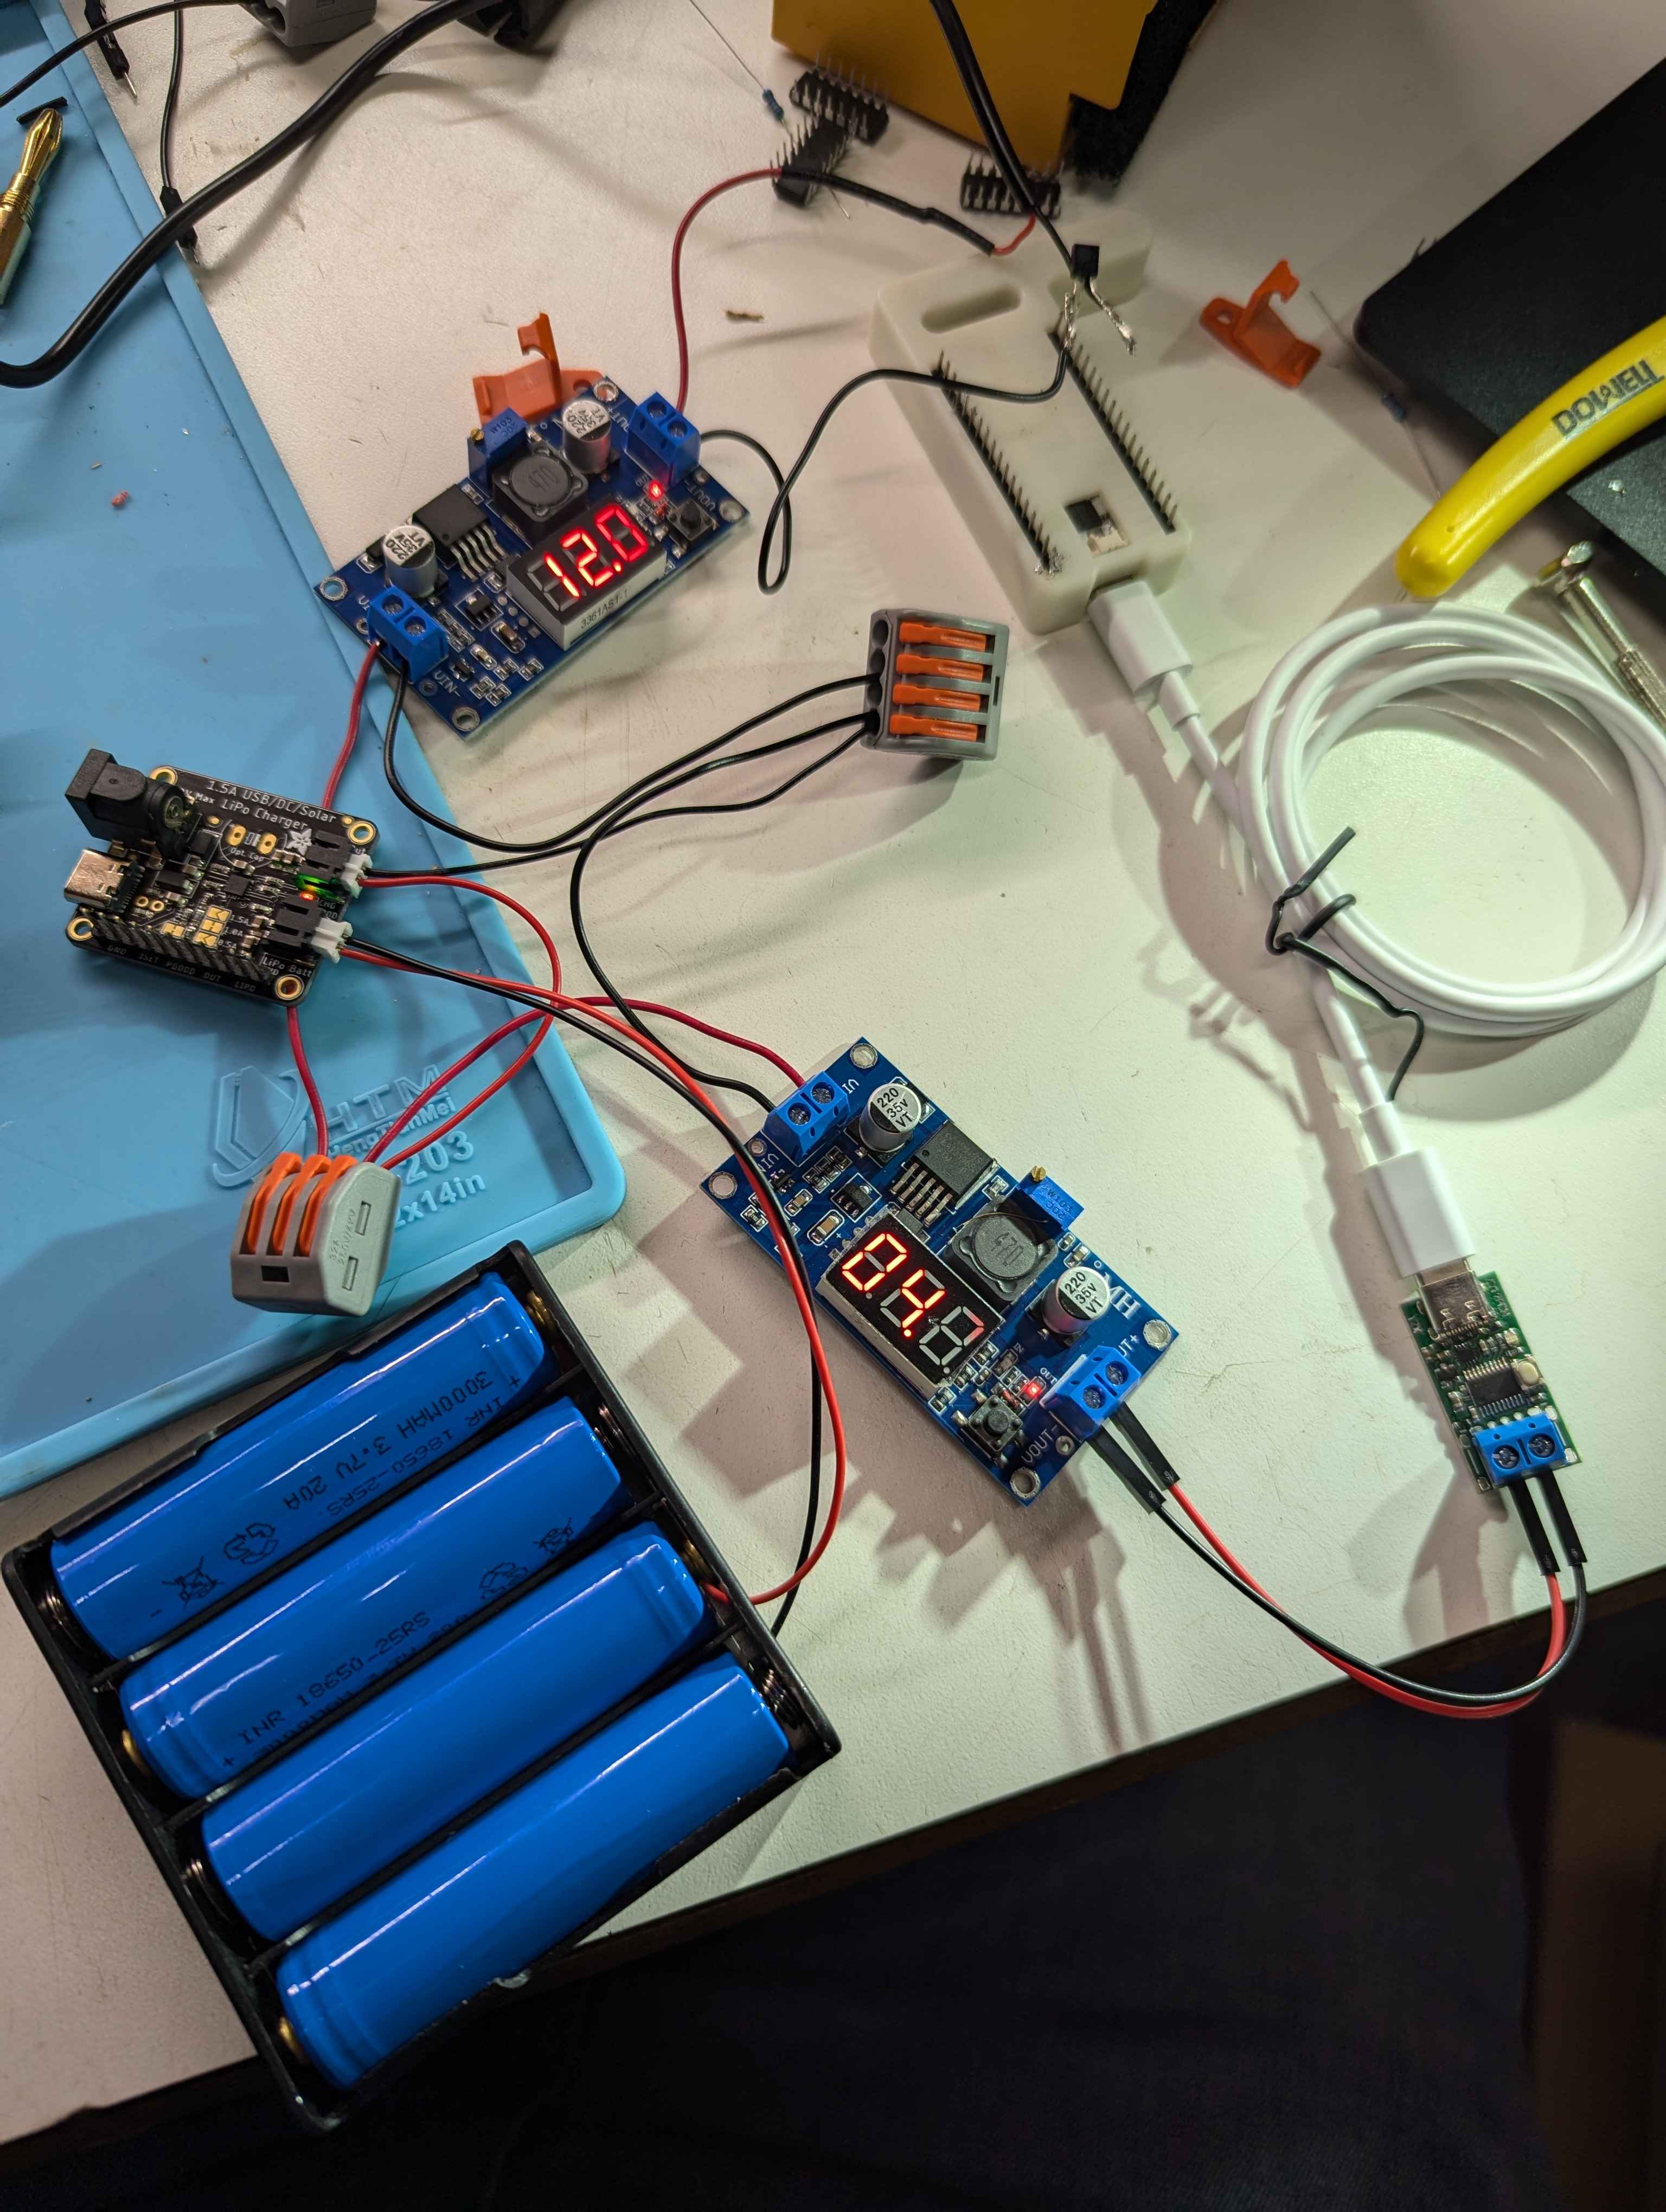
Right now I’m working on a newly designed chimney part that will snap onto the top of the tower and has a solar panel. The solar panel will charge a series of batteries and power an ESP32 microcontroller which will turn the pump on and off on a schedule via Home Assistant.
b. Sensors
Once I have the solar power work done, I can use the same microcontroller to collect sensor data and telemetry to verify the health of the tower.
- Temperature (in bucket and ambient)
- Humidity
- Water pump flow rate
- Water TDS
- Water pH
- Light spectrum measurements
- Ultraviolet
- Visible
- Infrared
- Liquid level sensor
- One to measure when bucket is full
- One to measure when the bucket is running low
c. Automate Water Refilling
Attaching a solenoid valve to a splitter from my garden hose would let me directly pump water into the buckets. I’d need the liquid level sensors mentioned above in order to do this, and once the lower liquid sensor no longer detects liquid, it opens the solenoid valve until the upper liquid level sensor detects liquid, then closes the solenoid valve.
d. Automate Nutrient/pH Balancing
I could create a highly concentrated nutrient mix and put it in a bottle with a tiny peristaltic pump and when the bucket water falls below a certain TDS threshold it could pump some of this nutrient mix into the bucket until it reaches the desired nutrient concentration.
Similarly with pH, I could put pH up solution in one bottle and pH down solution in another bottle and then adjust the pH as needed based on the sensor measurement.
Appendix A: .step files
.step files from my favorite tower configuration follow, listed from bottom of the tower to the top with credits sprinkled in.
Appendix B: Bill of Materials
NOTE: these are not affiliate links, they’re just to give people an idea of what I used to make this tower work.